Creare e modificare un cartellino dei prezzi
In questa guida vi mostreremo come creare un cartellino del prezzo con Labeljoy.
1 – Crea un nuovo cartellino del prezzo
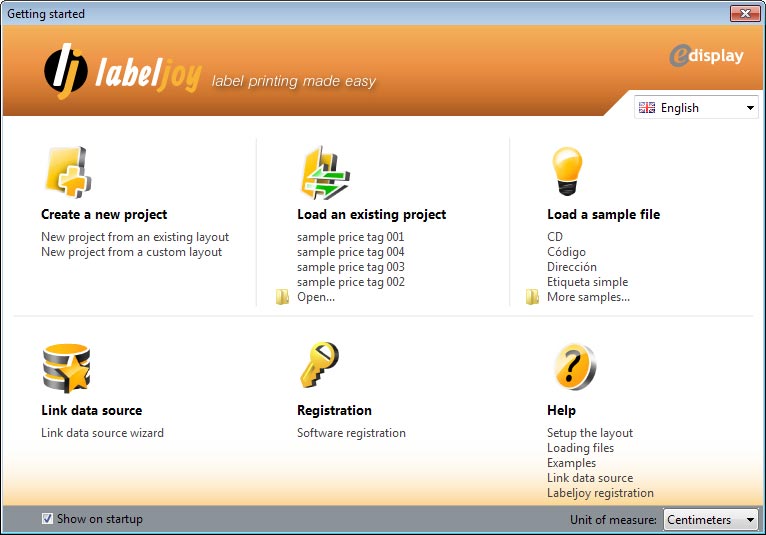
Open Labeljoy and click on New project from an existing layout,
Scegli le dimensioni dell’etichetta dai modelli disponibili, se non appare la finestra la trovi anche cliccando su Progetto/ Imposta layout dal menu in alto,
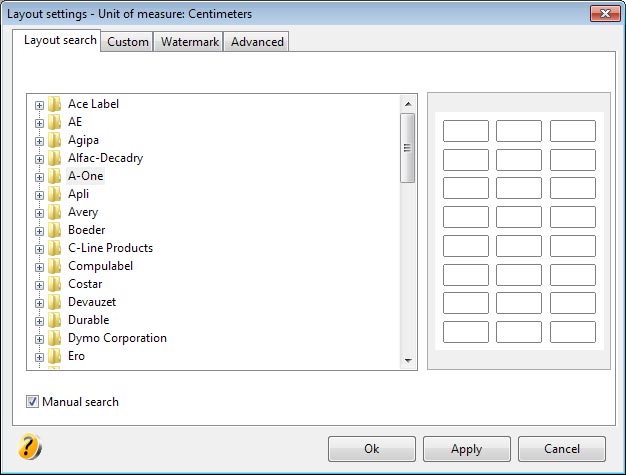
o se si dispone di misure personalizzate selezionare Personalizza , quindi imposta il numero di etichette che si desidera stampare su una pagina, determina i margini all’interno della pagina e tra le colonne e le righe, quindi fai clic su OK.

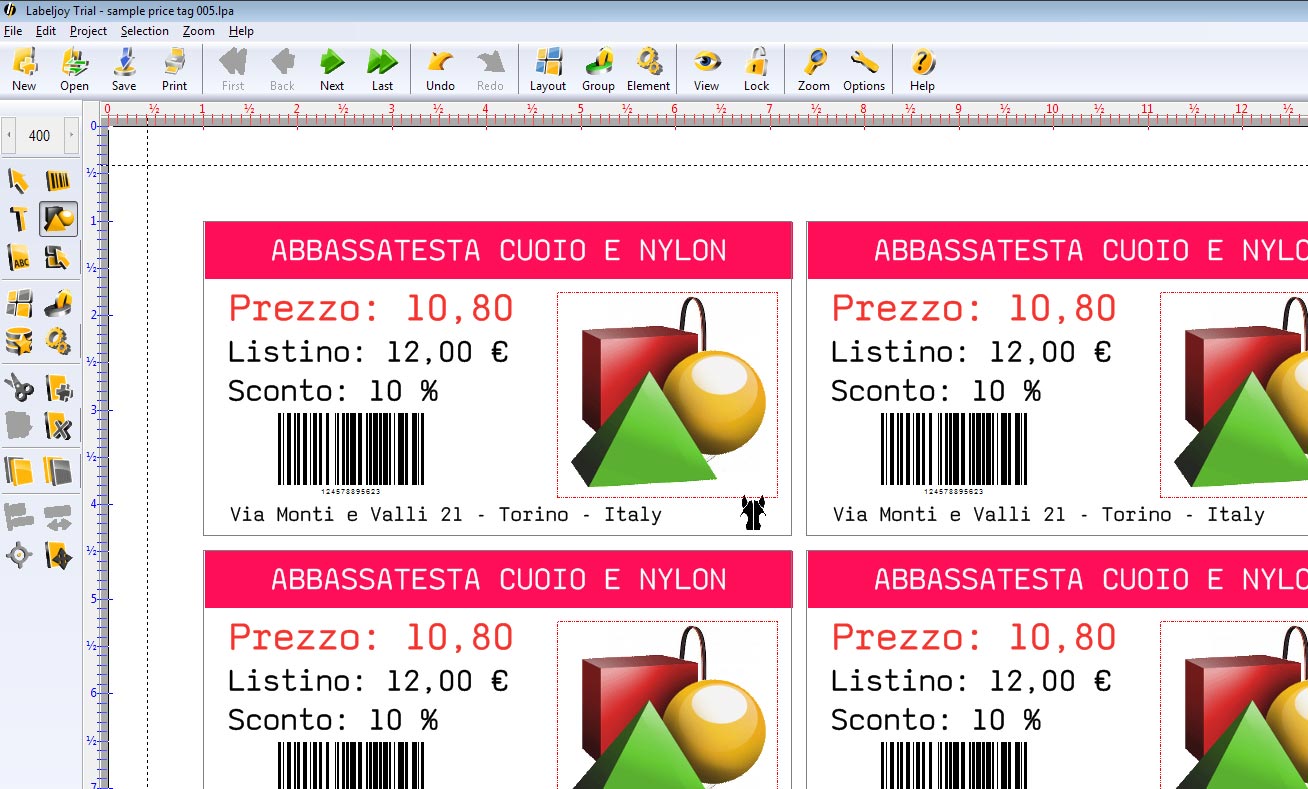
2 – Modifica il cartellino appena creato
Adesso una nuova pagina da modificare e dove puoi inserire nuovi oggetti da personalizzare.
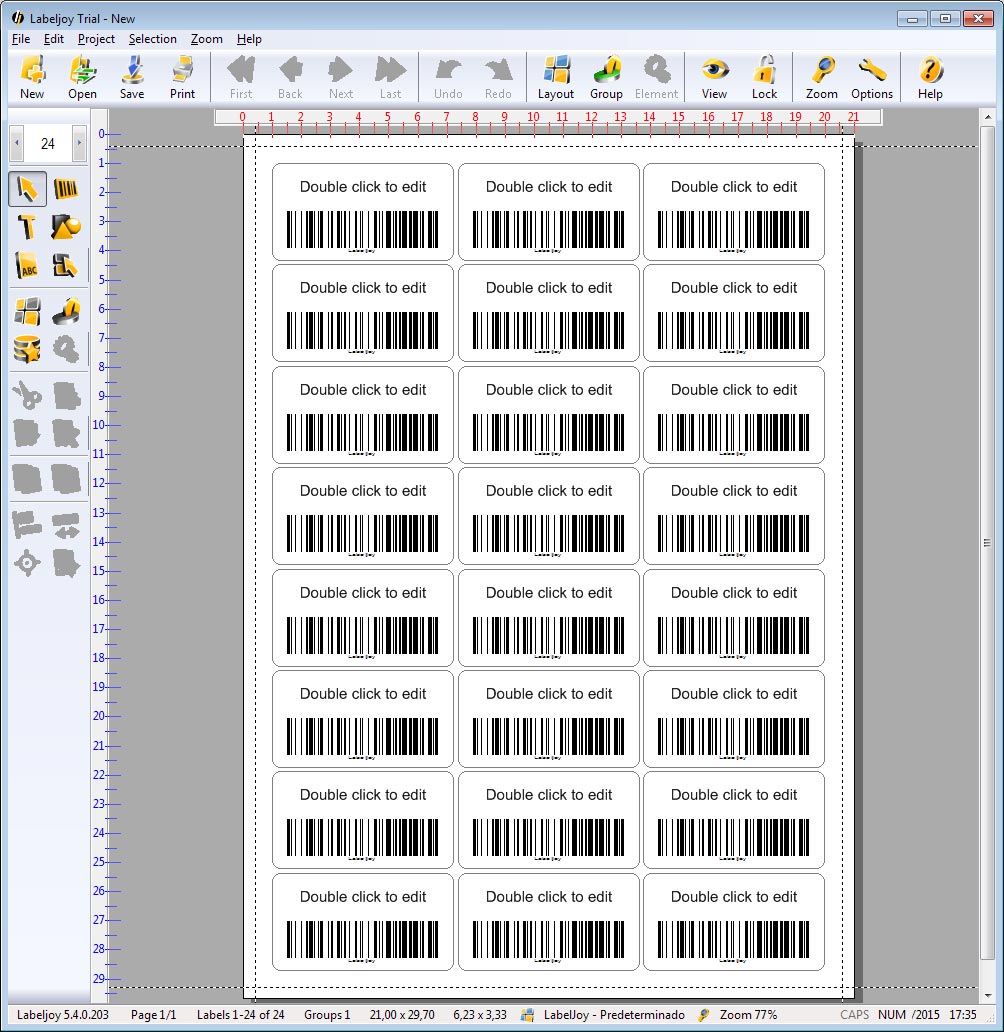
Per una migliore visualizzazione ingrandisci la pagina e inizia a modificarla.
![]()
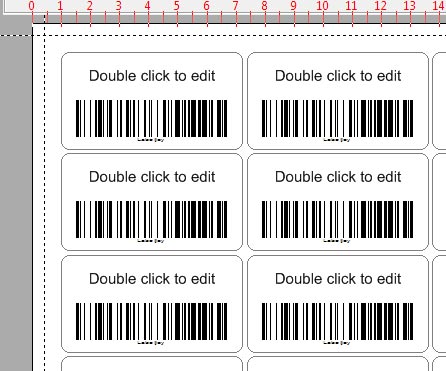
Fai doppio click sull’oggetto o selezionalo per cancellarlo.
3 – Inserisci nuovi elementi nel cartellino prezzi
Inserisci un barcode
Seleziona l’icona barcode dal menu di sinistra e crea un box all’interno dell’etichetta.
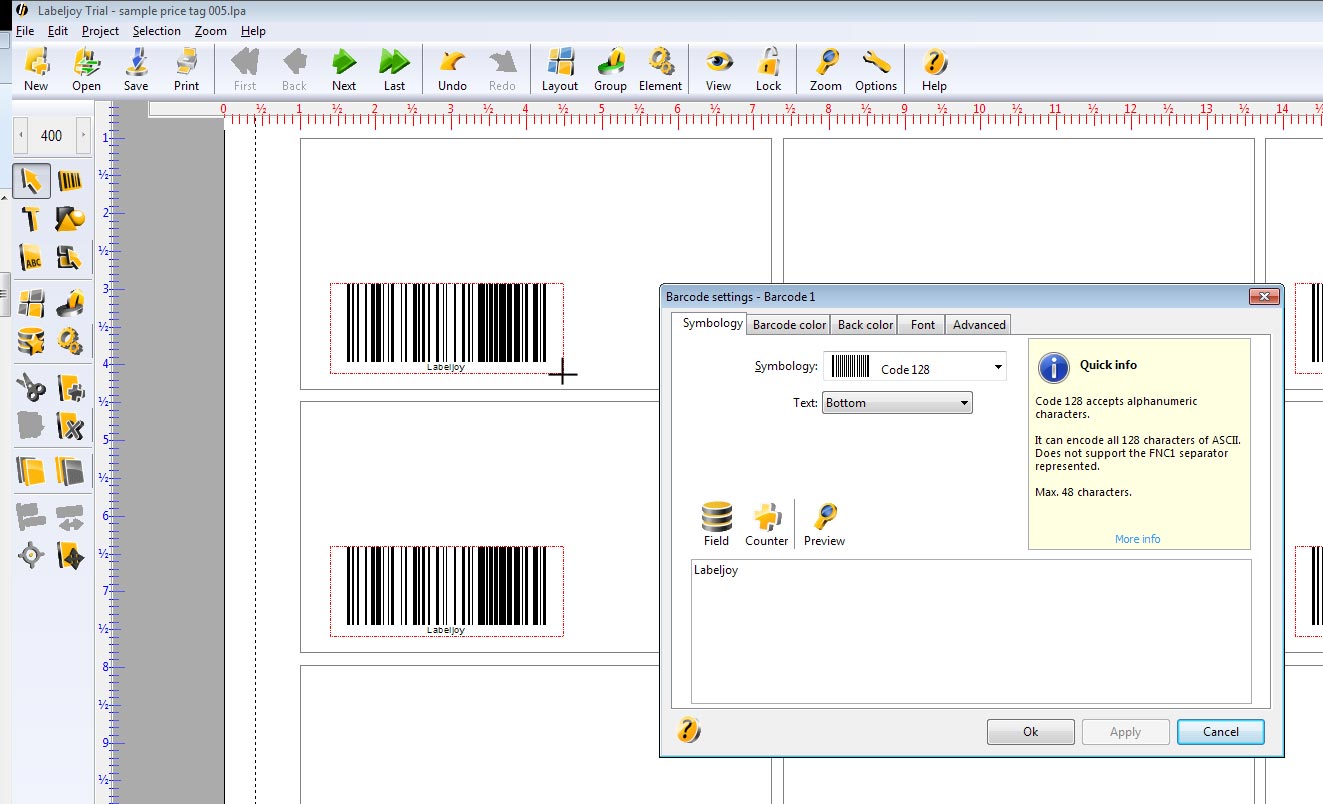
Seleziona il tipo di barcode o di QR code da inserire.
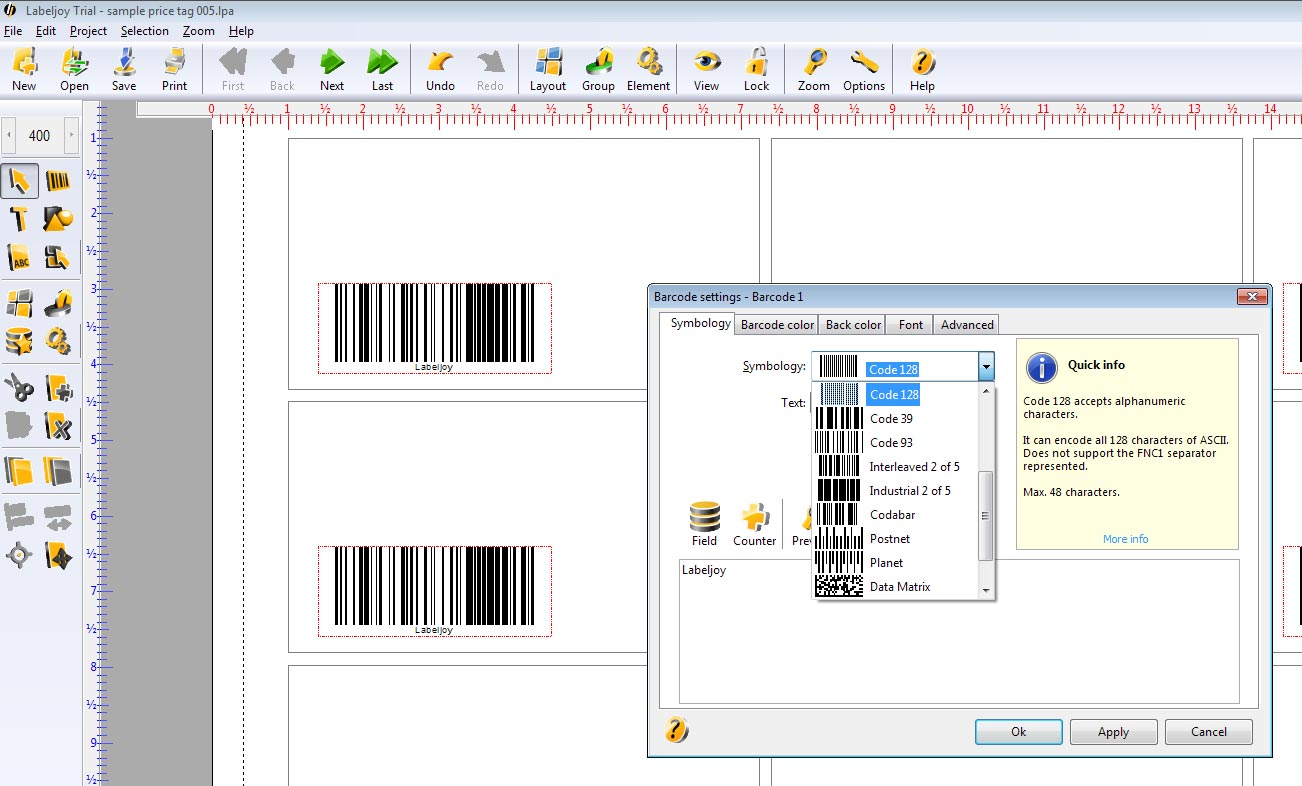
if you have already connected a database or an Excel spreadsheet, click field and select the entry that matches the barcode data (this function is enabled only for the full version)
Options for barcode:
- Symbology: let’s you select type of barcode or QR code, for the full version you can insert data from a database or spreadsheet like excel.
- Barcode color: sets the color of barcode or QR code.
- Back color: sets color of frame of barcode or QR code.
- Font: allow you to select the font and the size of barcode or QR code.
- Advanced: is used to set up positions, autoanchor, rotate and size and naming the barcode or QR code.
Insert text
Select text icon and draw a rectangle in the price tag area.
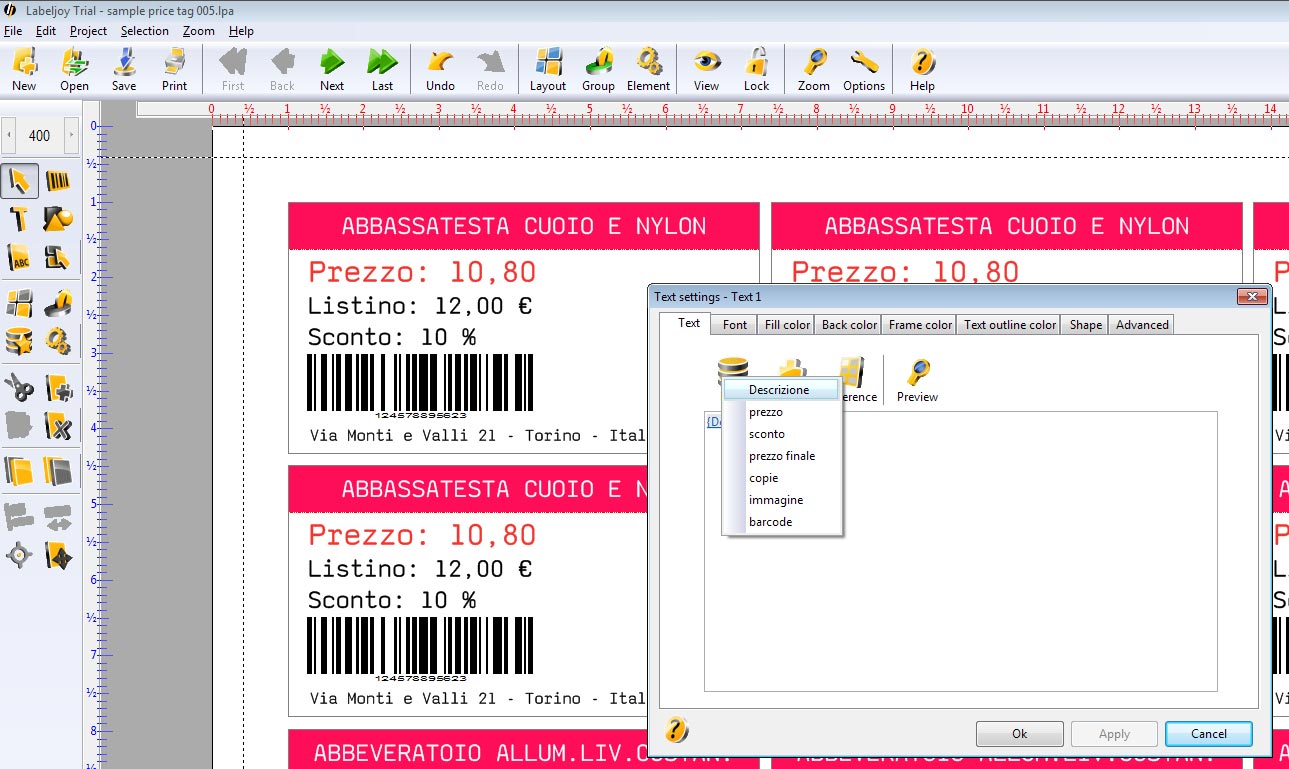
after that set all options through the window element.
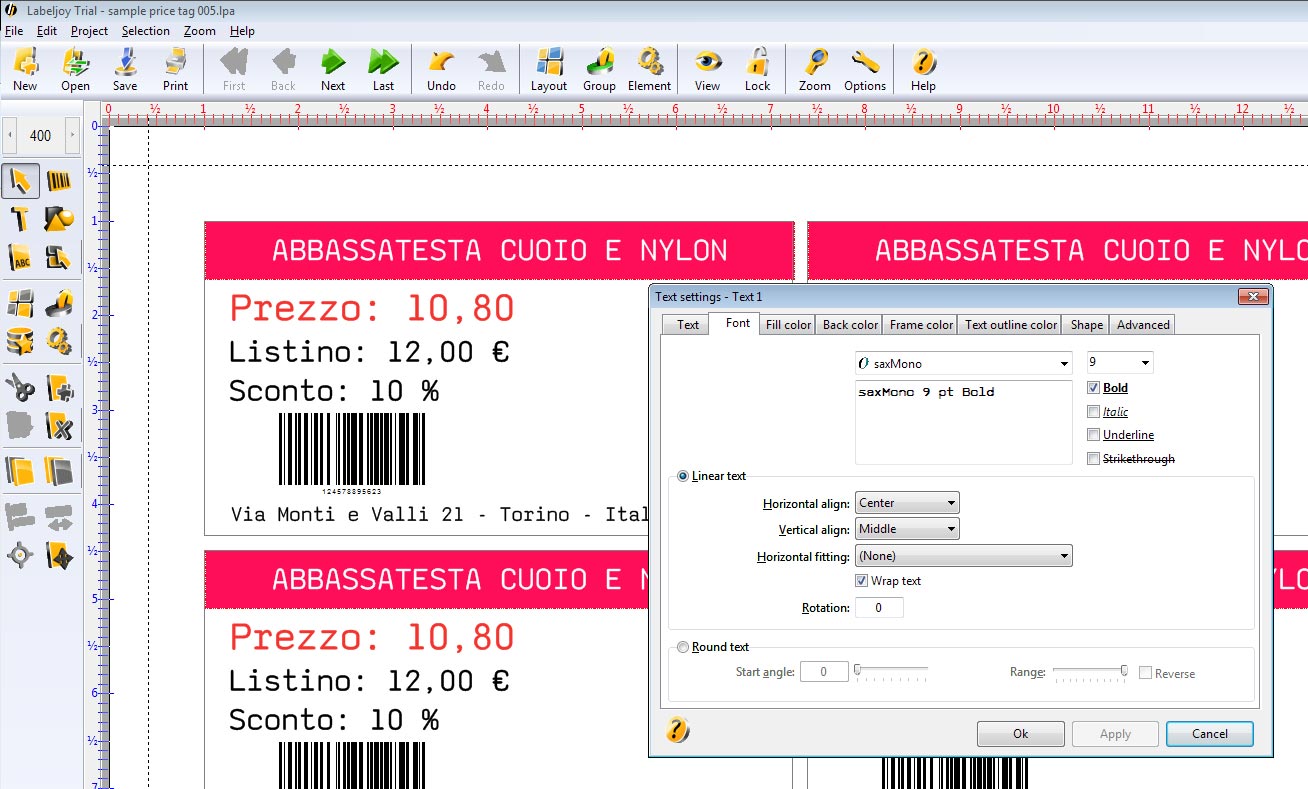
Options for text:
- Text: The tab allows you to enter text and in the full version also attach a database of dinamic values such as price, discount, color etc., counter or even reference let’s you enter dinamic values like number of total pages, current page, total labels and so on (see the picture below).
- Font: let’s you change many options like horizontal and vertical align, horizontal fitting, bold, italic and others.
- Fill color: sets the color of text.
- Back color: sets the color of frame.
- Frame color: sets color and size of the border of frame.
- Text outline color: sets color and size of the border of text.
- Shape: sets square or rounded corner of frame.
- Advanced: is used to set up positions, rotation and size of frame and the name of the item.
Insert images
Select image icon and draw a rectangle in the price tag area.
Insert image from a database for full version or manually from file, scanner or clipart.
The imported image replaces the previous.
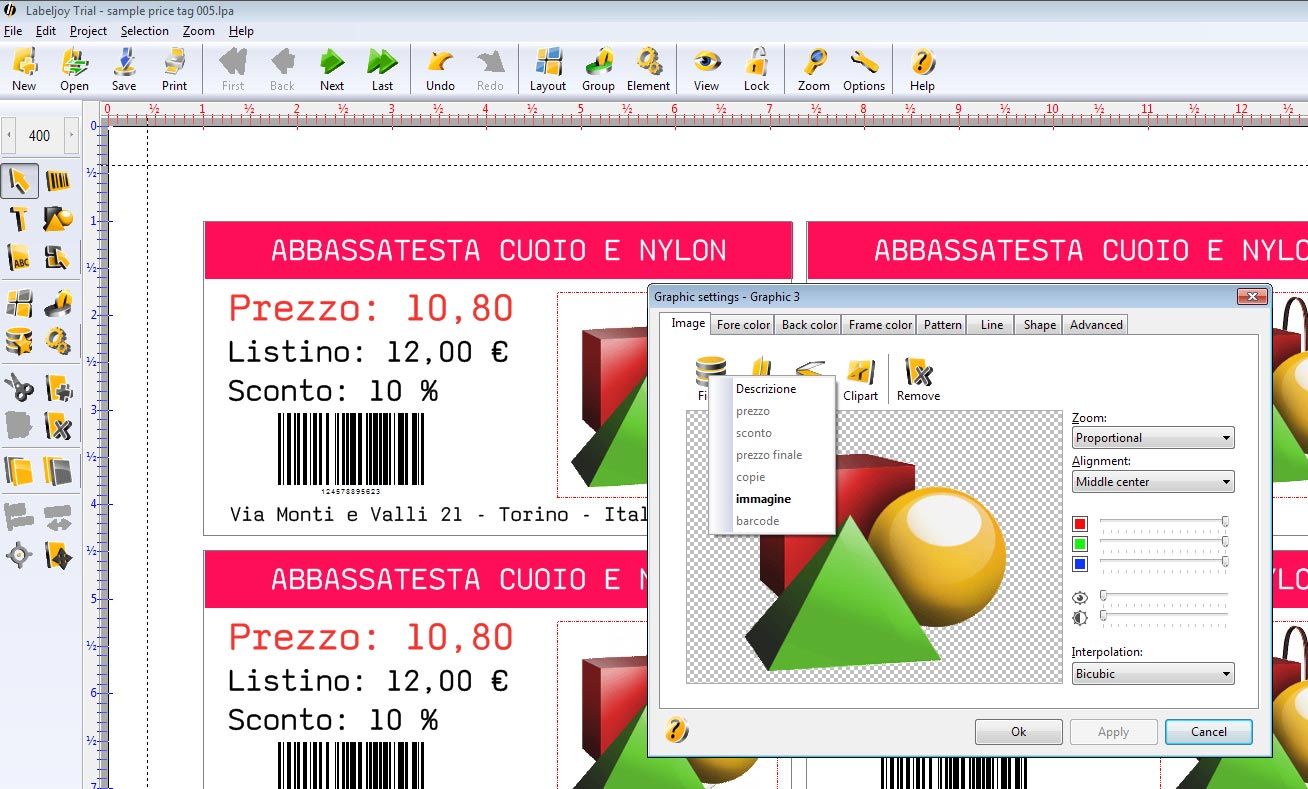
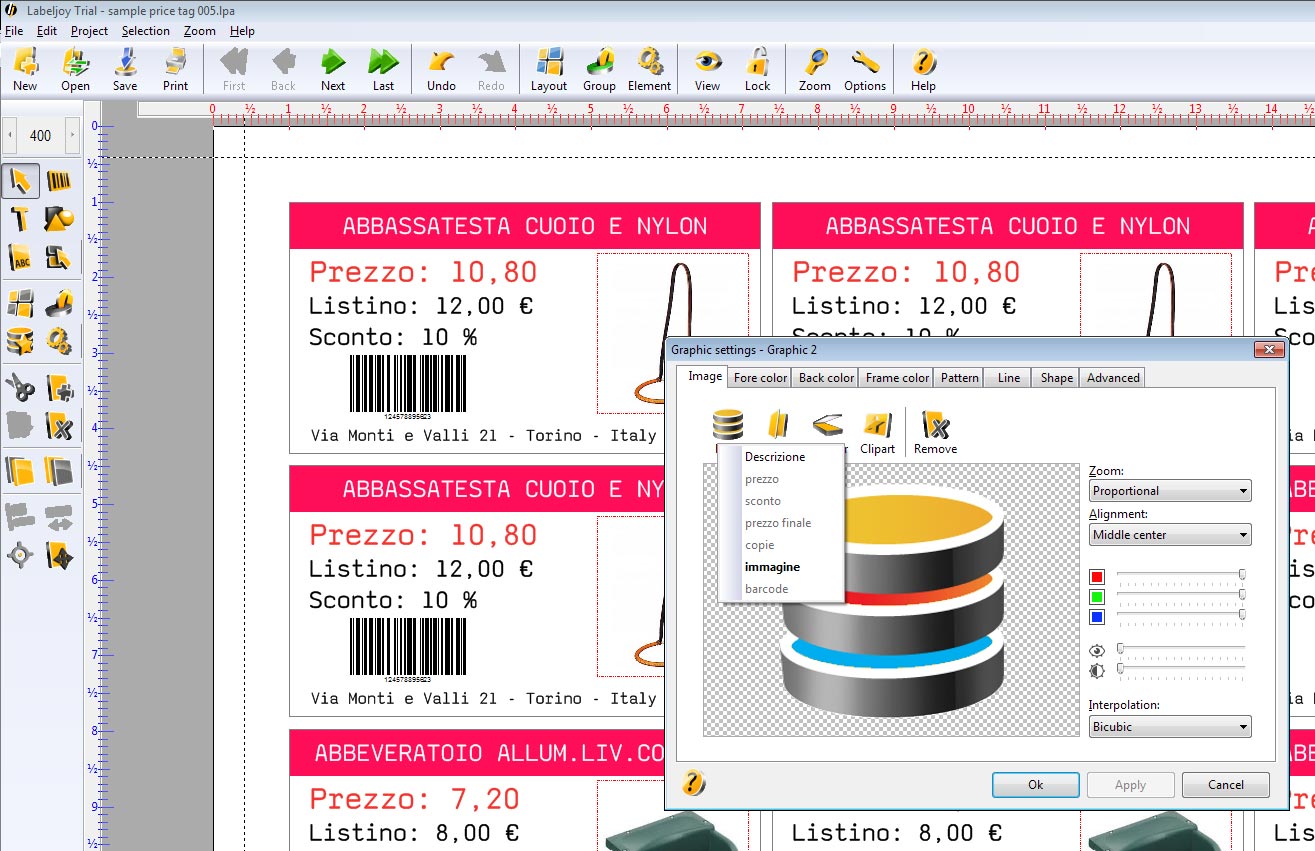
Options for image:
- Image: the tab image let’s you insert new image by scanner, file, clipart or in the full version from a database or spreadsheet like excel.
- Fore color / back color: this option let’s you set the color of frame of the image.
- Frame color: sets color and size of the border of frame.
- Pattern: sets background pattern like dots, vertical lines, horizontal lines and so on.
- Line: sets one line in the middle of frame whit many options.
- Shape: sets square or rounded corner of frame.
- Advanced: is used to set up positions, rotation and size of frame and the name of the group to which it belongs.