Create and edit new price tag
In this tutorial we’ll show you how to create a price tag with Labeljoy.
1 – Create new price tag
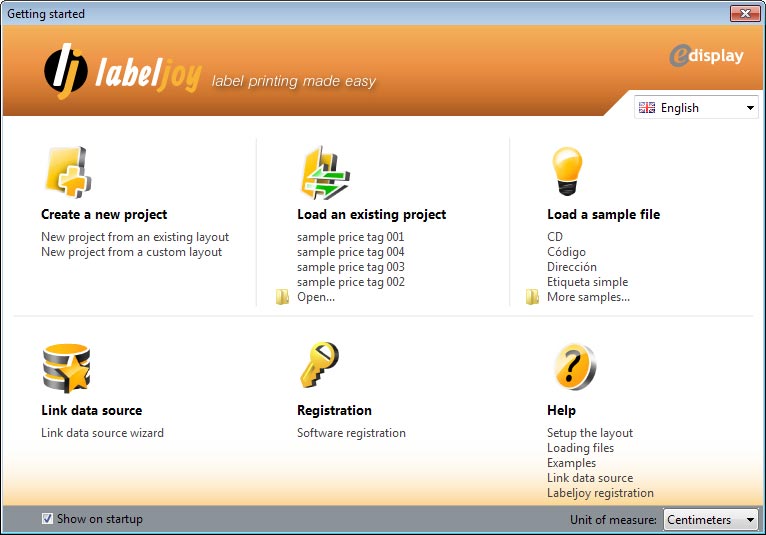
Open Labeljoy and click on New project from an existing layout,
Choose the size of the label from the available templates, if you don’t see the window it will be shown by clicking on Project/Layout setting on the top menu,
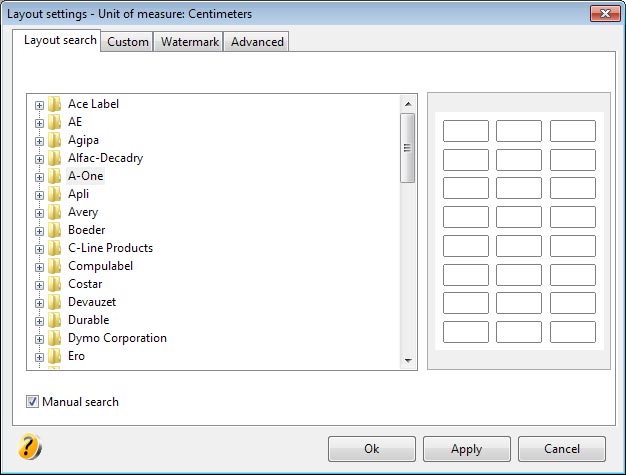
or if you have custom measurements select the Custom tab, then set how many labels you want to print on one page , determines the margins interior of the page and between columns and rows, then click ok.

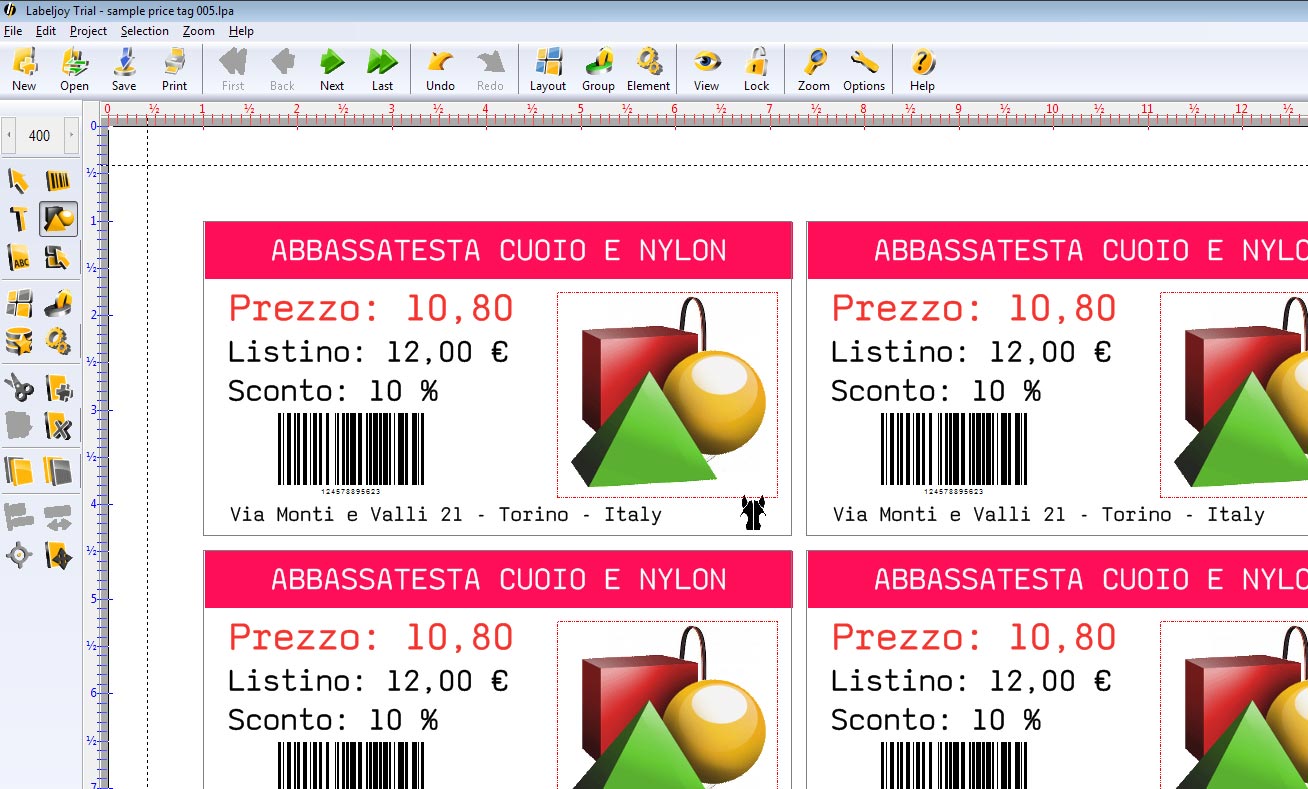
2 – Edit the price tag just created
Well, now you have the new page template to edit or cancel and insert new object to customize.
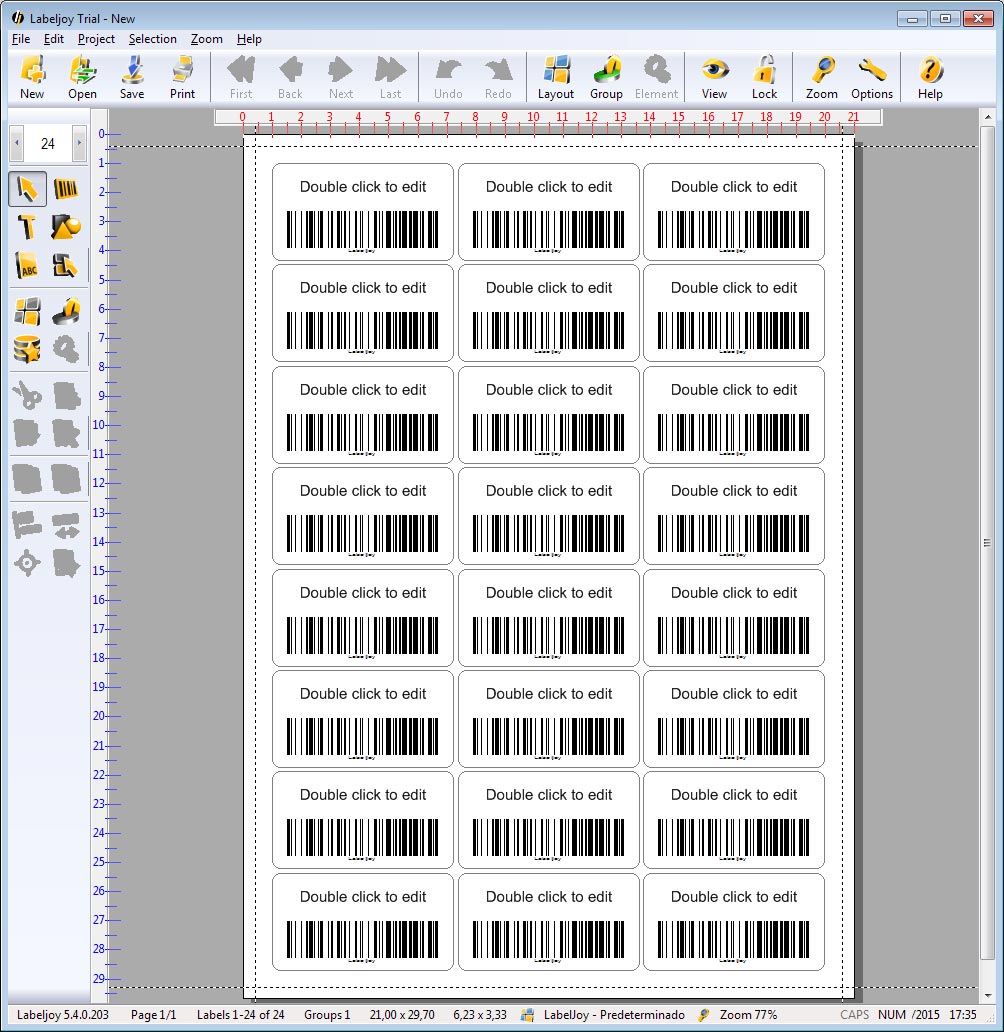
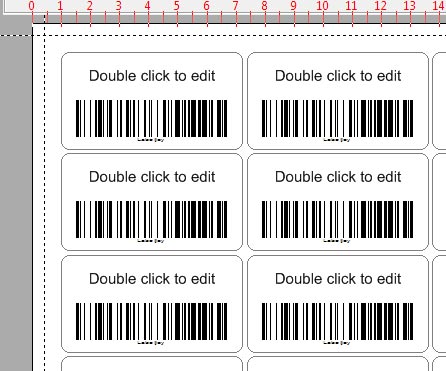
For convenience zoom the page and start to customize it. ![]()
Double click on the object to edit it or select and cancel to delete it.
3 – Insert elements in the price tag
Insert barcode
Select barcode icon and draw a rectangle in the price tag area
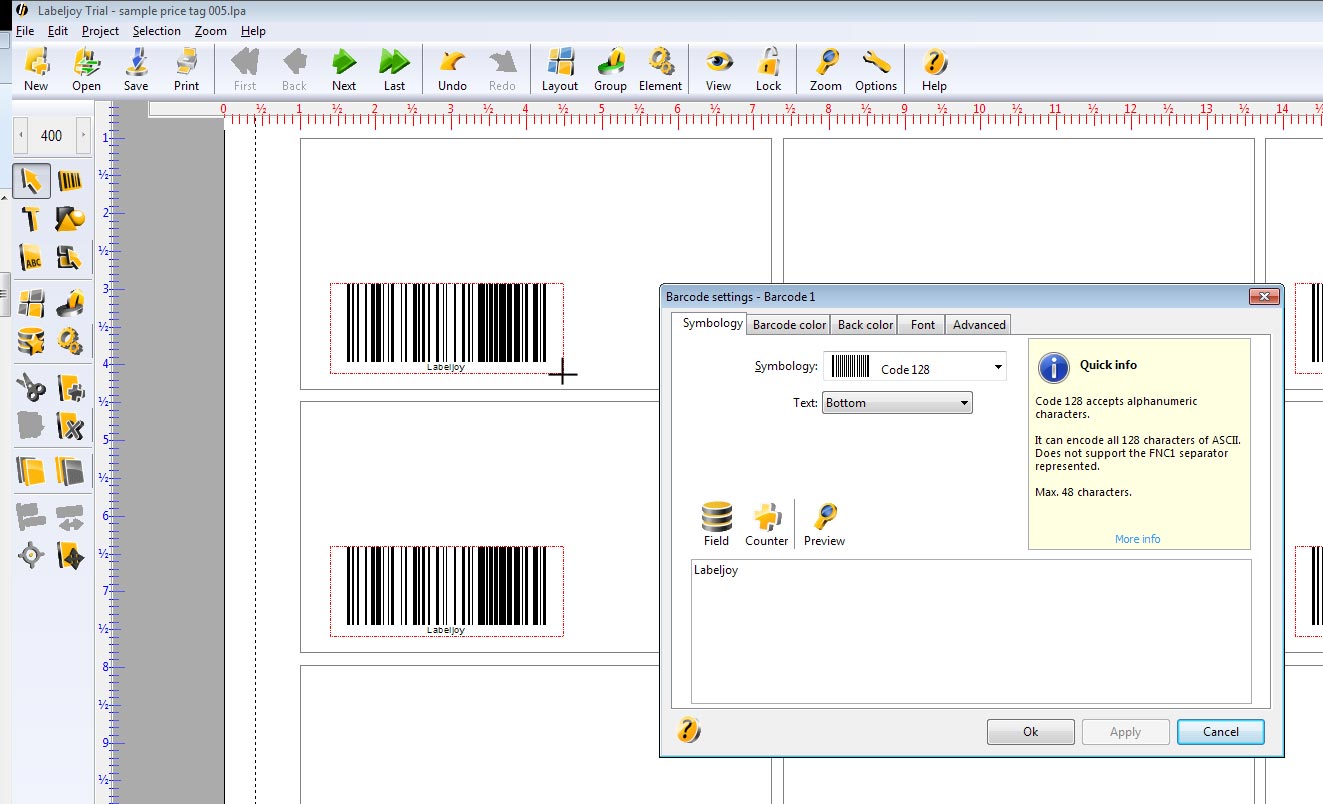
Select the type of barcode or QR code from the drop down menù
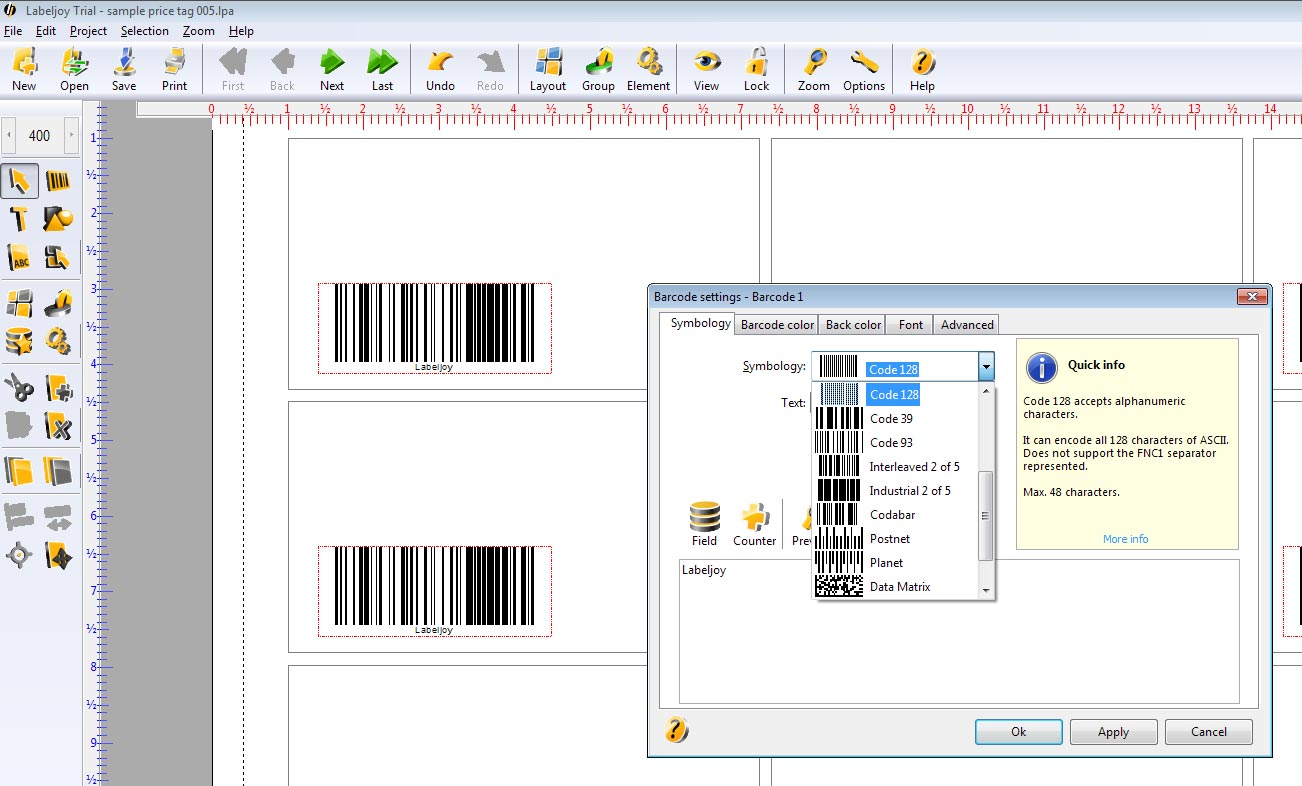
if you have already connected a database or an Excel spreadsheet, click field and select the entry that matches the barcode data (this function is enabled only for the full version)
Options for barcode:
- Symbology: let’s you select type of barcode or QR code, for the full version you can insert data from a database or spreadsheet like excel.
- Barcode color: sets the color of barcode or QR code.
- Back color: sets color of frame of barcode or QR code.
- Font: allow you to select the font and the size of barcode or QR code.
- Advanced: is used to set up positions, autoanchor, rotate and size and naming the barcode or QR code.
Insert text
Select text icon and draw a rectangle in the price tag area.
after that set all options through the window element.
Options for text:
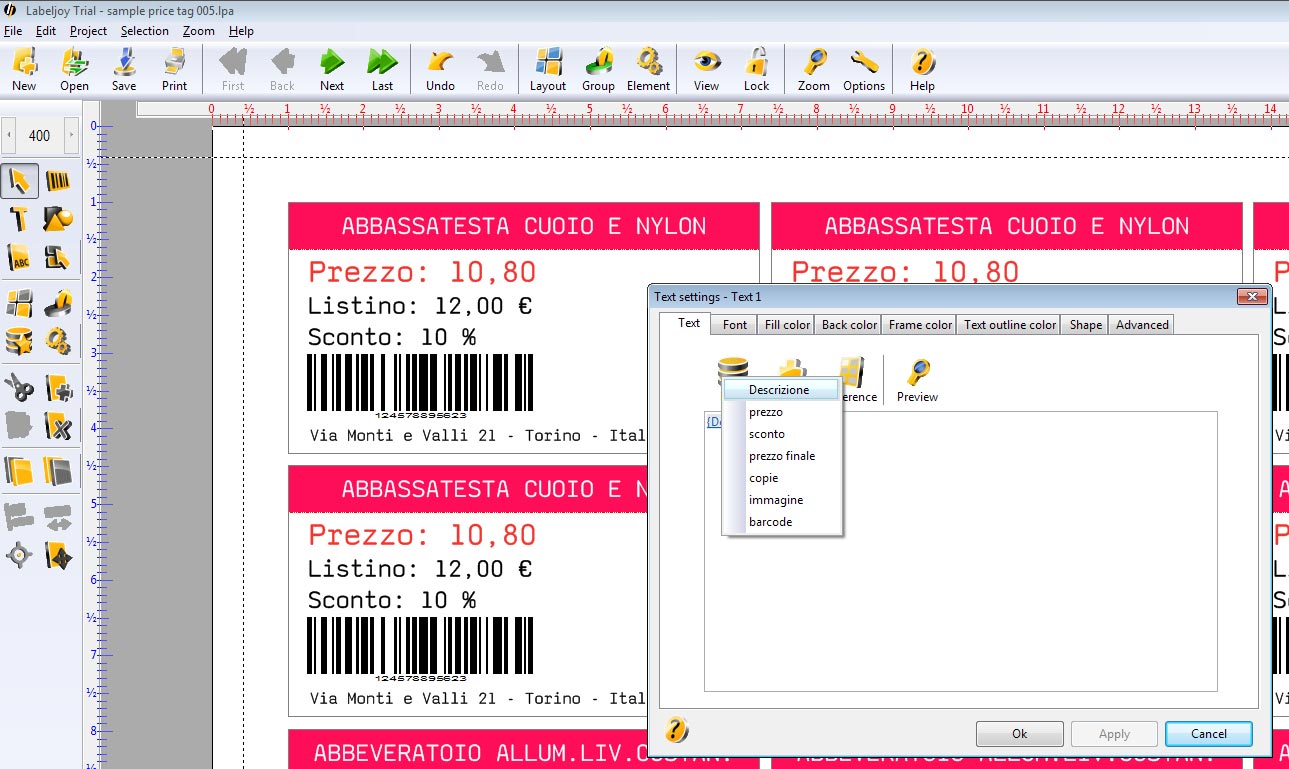
- Text: The tab allows you to enter text and in the full version also attach a database of dinamic values such as price, discount, color etc., counter or even reference let’s you enter dinamic values like number of total pages, current page, total labels and so on (see the picture below).
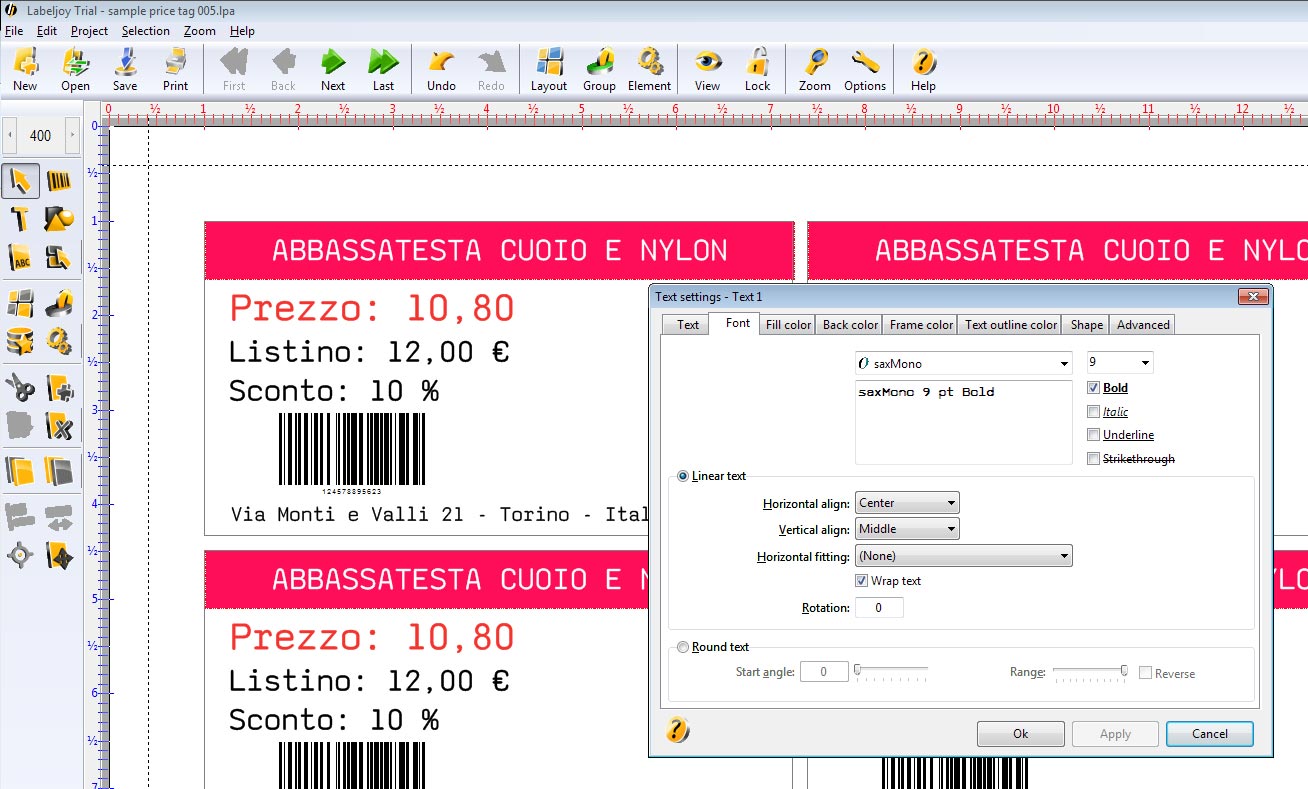
- Font: let’s you change many options like horizontal and vertical align, horizontal fitting, bold, italic and others.
- Fill color: sets the color of text.
- Back color: sets the color of frame.
- Frame color: sets color and size of the border of frame.
- Text outline color: sets color and size of the border of text.
- Shape: sets square or rounded corner of frame.
- Advanced: is used to set up positions, rotation and size of frame and the name of the item.
Insert images
Select image icon and draw a rectangle in the price tag area.
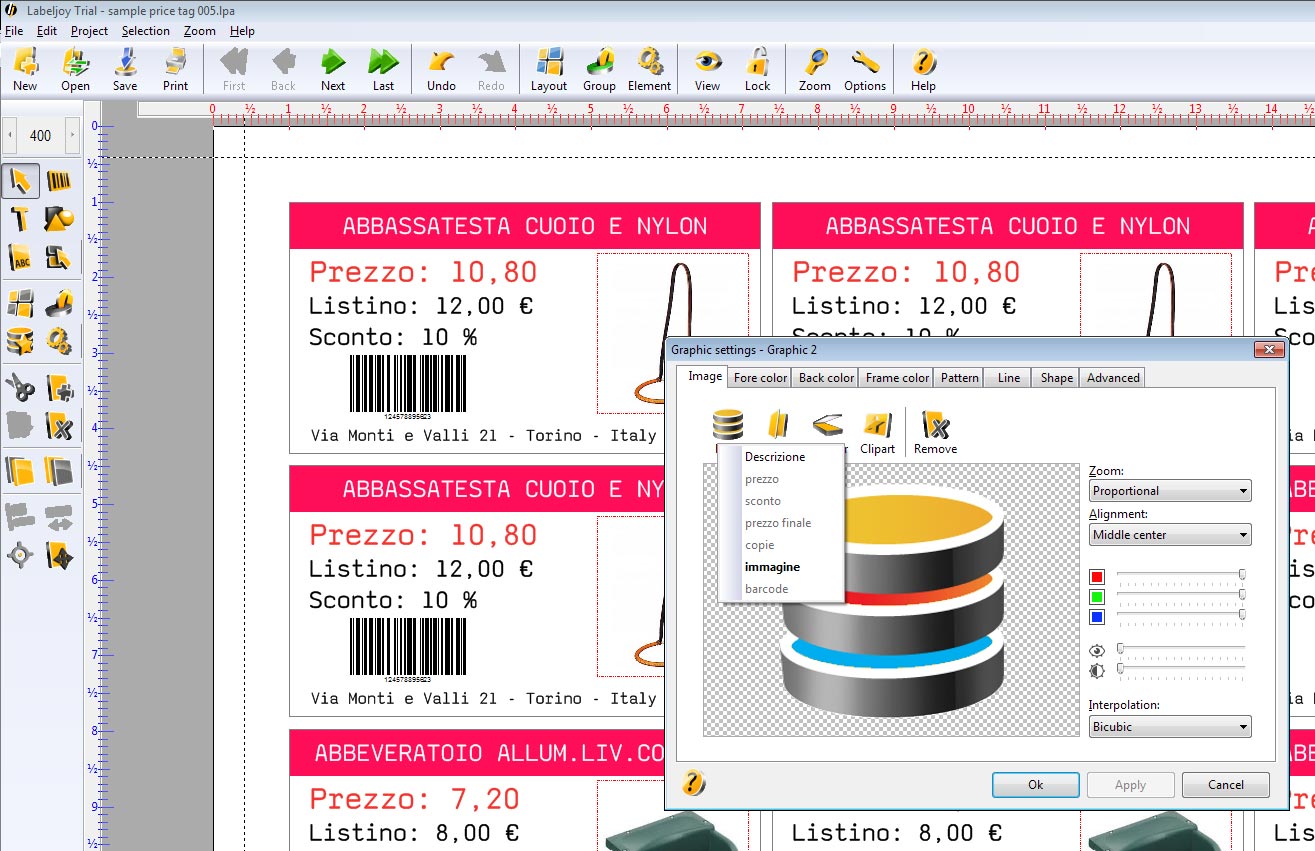
Insert image from a database for full version or manually from file, scanner or clipart.
The imported image replaces the previous.
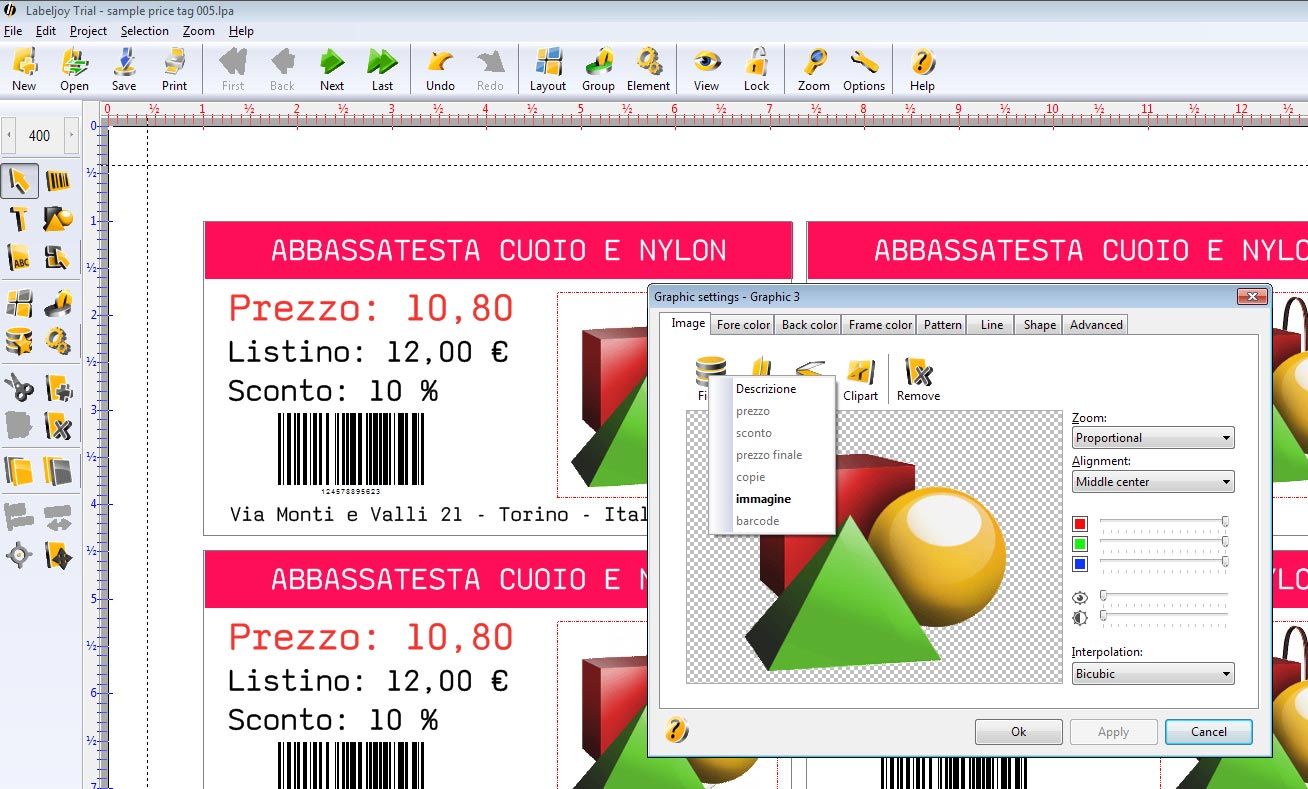
Options for image:
- Image: the tab image let’s you insert new image by scanner, file, clipart or in the full version from a database or spreadsheet like excel.
- Fore color / back color: this option let’s you set the color of frame of the image.
- Frame color: sets color and size of the border of frame.
- Pattern: sets background pattern like dots, vertical lines, horizontal lines and so on.
- Line: sets one line in the middle of frame whit many options.
- Shape: sets square or rounded corner of frame.
- Advanced: is used to set up positions, rotation and size of frame and the name of the group to which it belongs.