This page refers to Labeljoy 5, which is not the latest release!
Please upgrade to Labeljoy 6 to get the latest version of the software with all its amazing features, or go to Labeljoy 6 user guide if you already own it.
page element settings
By double clicking a page element, a dialog box is shown that enables to you to modify its appearance.
The page element dialog box contains 9 tabs:
|
* Clipart images are not available in the Light version. |
|
|
|
Select the font and define its size. Use the additional check boxes to define if the characters need to use the Bold, Italic, underline or Use the lower controls to define horizontal and vertical alignment, horizontal fitting, wrap text mode, and the rotation of the text within its rectangular area. Note: |
|
See the Defining colors topic for more information on creating complex colors and shades. |
|
See the Defining colors topic for more information on creating complex colors and shades. |
|
See the Defining colors topic for more information on creating complex colors and shades. |
|
|
|
|
|
Note: |
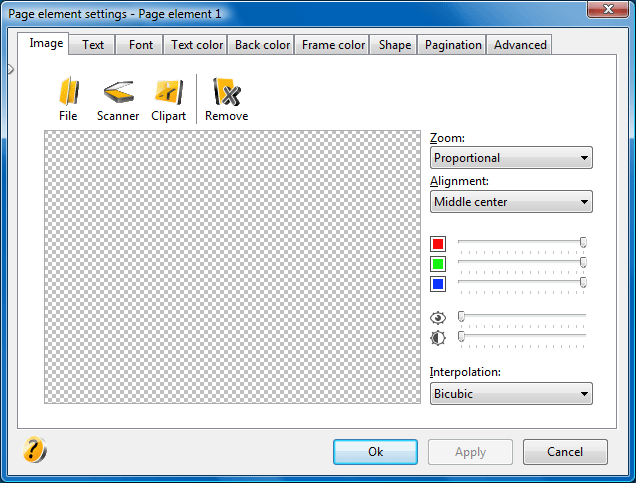 Image: selection of an image to be displayed. You can load a static image from disk, import it from a TWAIN source (such as a scanner) or load it from the
 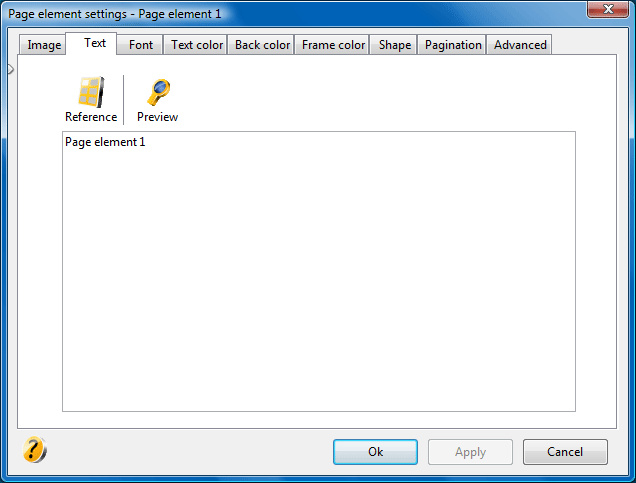 Text: this tab enables you to define the text to be rendered on the labels. It is possible to create compound texts containing fixed text and
 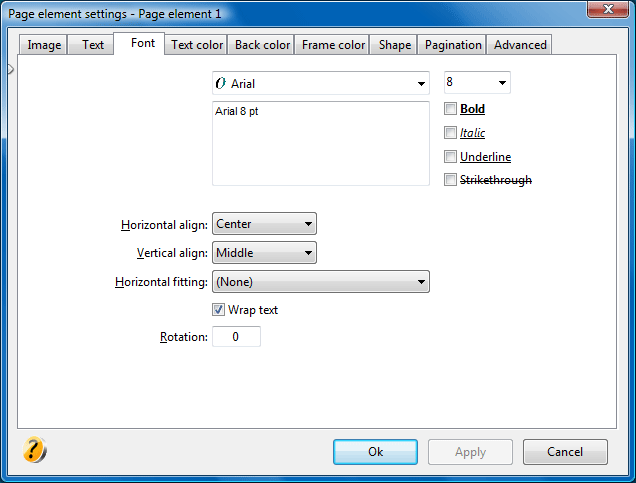 Font: the Font tab enables you to define the font and the text alignment.
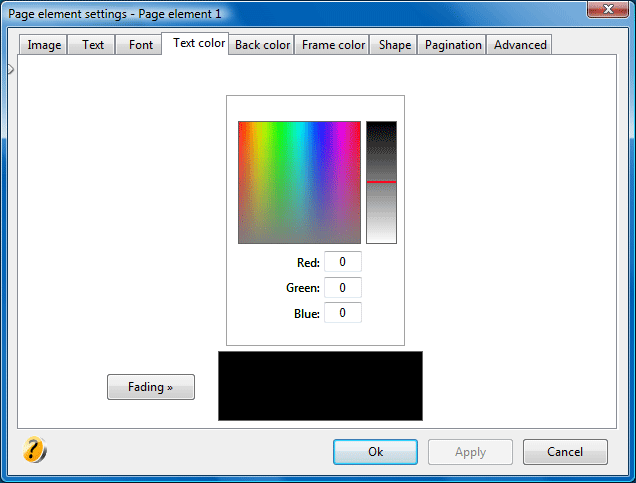 Text color: definition of the color of the page element.
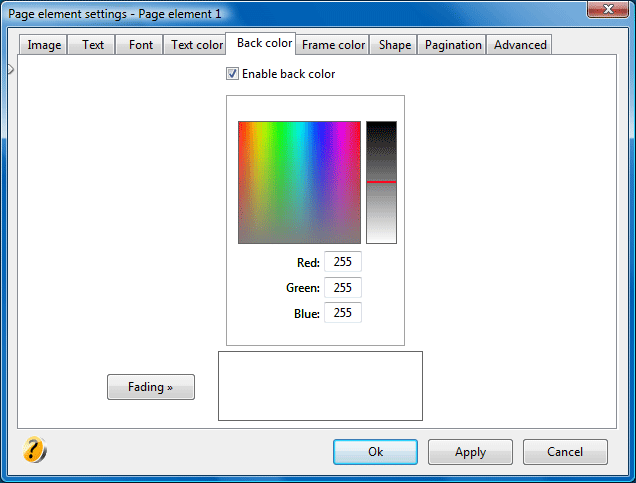 Back color: definition of the back color of the page element.
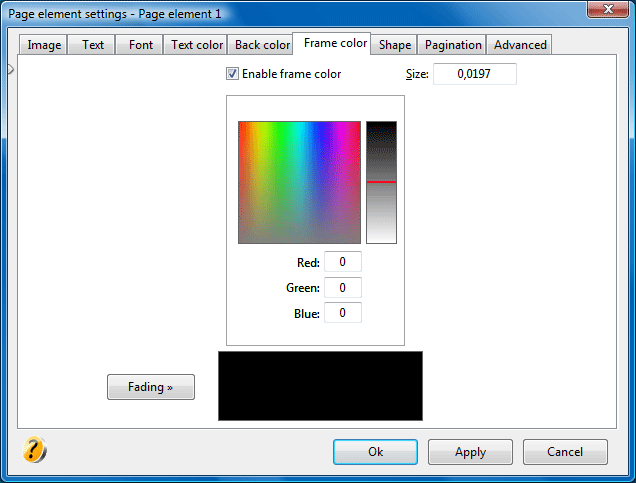 Frame color: definition of color and size of the frame of the page element.
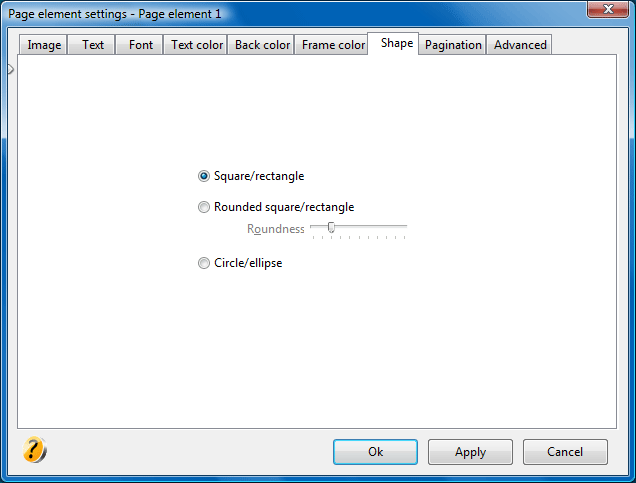 Shape: definition of the element shape.
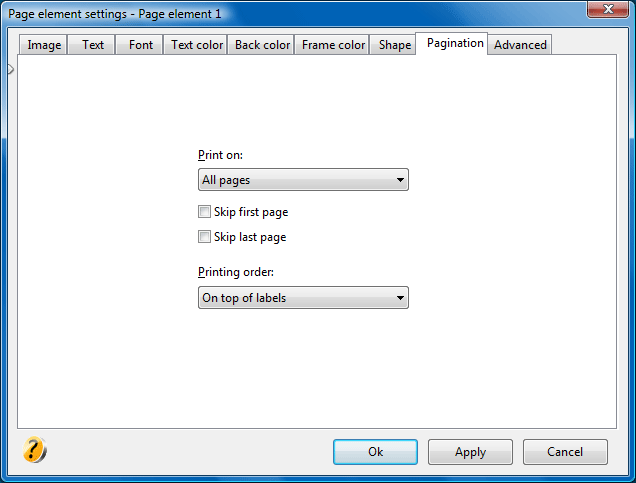 Pagination: The Print on
combo box displayed in this tab enables you to define the page(s) on which the element will be printed.
Pagination: The Print on
combo box displayed in this tab enables you to define the page(s) on which the element will be printed. 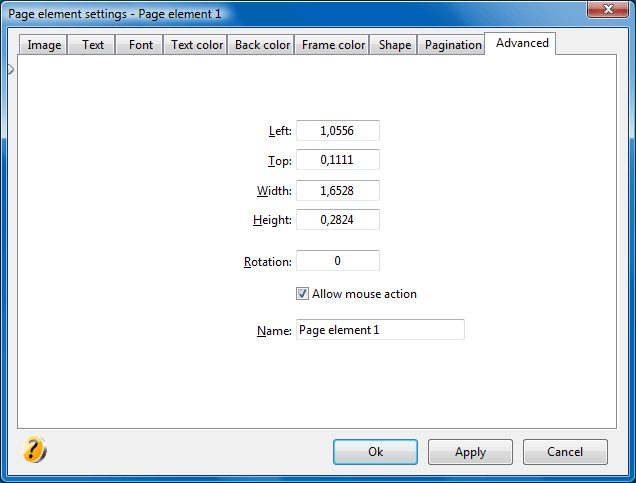 Advanced: