How to work with text tool in labeljoy
With the text tool labeljoy you will be able to change the text to create any type of label and price tag, in this guide you will see how labeljoy is useful and easy to use and do not put limits on your creativity. You can create labels and price tag for business, manufacturing, industry, celebrations , office an so on, have a look to template section to see some example.
1 – Choosing the font characteristics
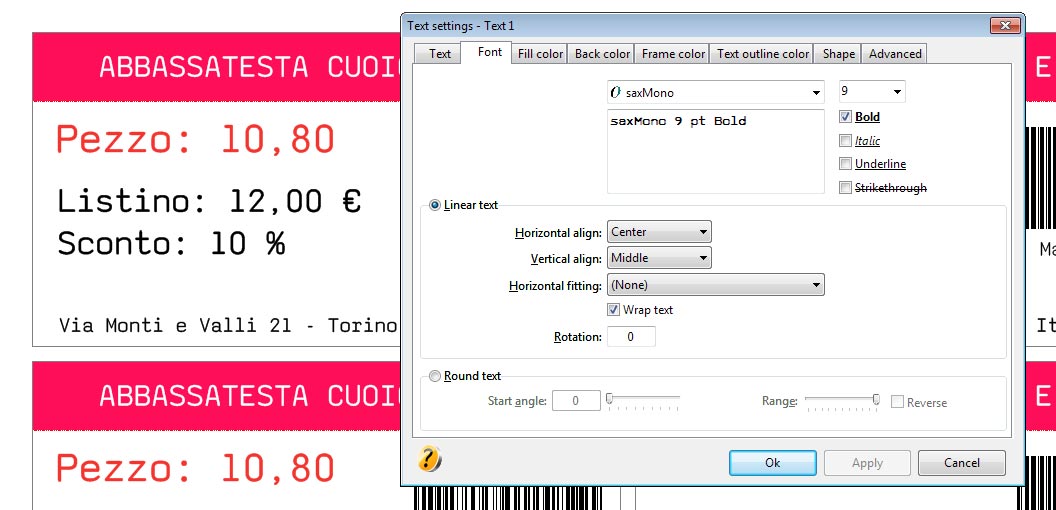
After created text object, double click on it and you’ll see the window below. Click on the Font tab and now as you can see can change various characteristics, as font, size and horizontal align to align text to left, right or center and vertical align to positioning it on top, bottom or in the middle of the object and horizontal fitting that is very useful for widen or tighten text to fit on the label width reducing or enlarging the font size. Another useful feature is the wrap text to cut long words. The rotation option rotate only the text in the box and accept positive value only.
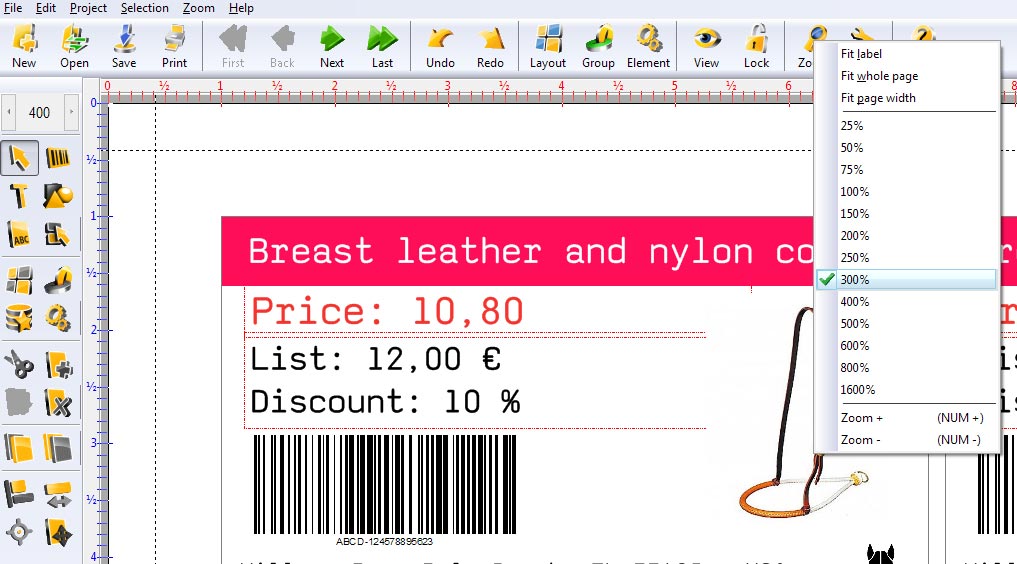
2 – Use of zoom functions and auto alignment
To zoom the page and align text boxes in the label, Labeljoy has a zoom tool and align tool icons that are respectively on the top menu and on the bottom of the right menu, or in the menu items, the shortcut of zoom is + key or – key.
Zoom in-out tool:
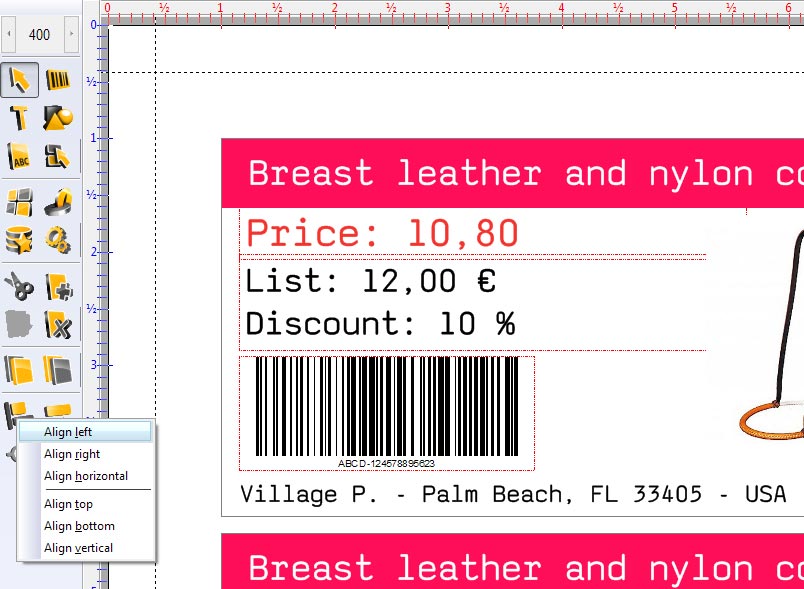
To align two or more objects in Labeljoy click and drag the cursor to select it, will activate the text icon or from the menu items edit/align click on left, center to align horizontal objects or top, bottom, vertical to align objects in vertical mode
Align two or more objects:
3 – Define color of text object
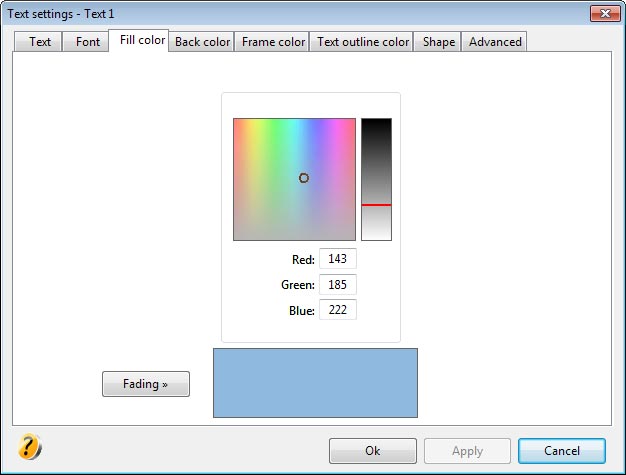
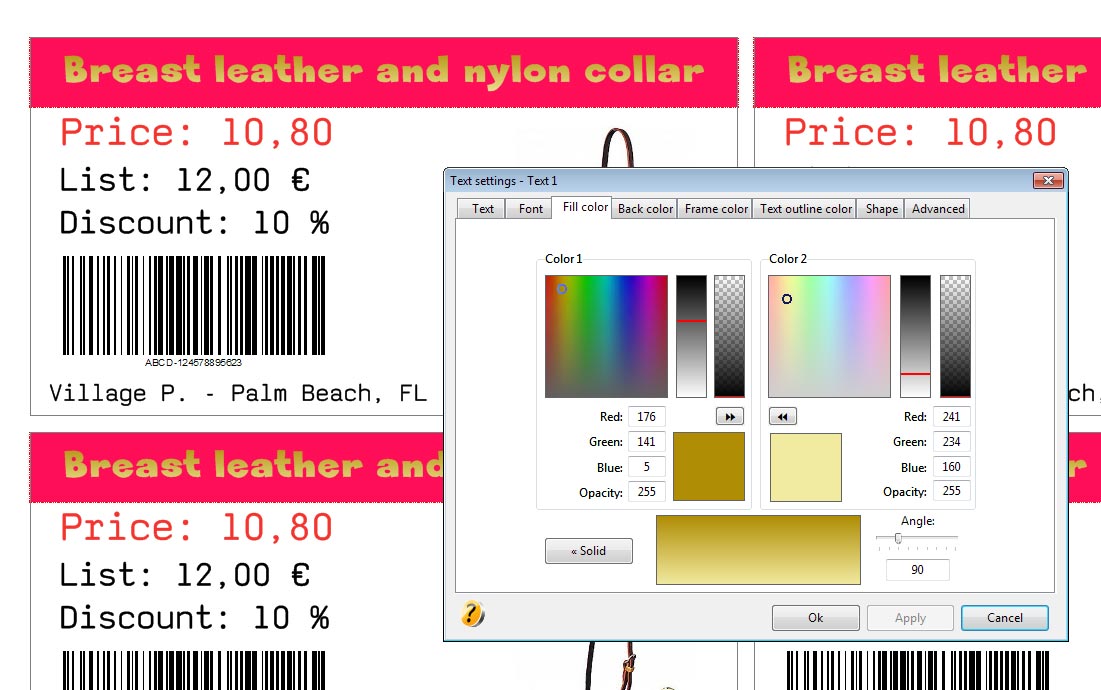
The default color of the text is black, but you can change the fill color clicking on the tab and choose from a flat color or a color gradient, clicking on the color palette to set color and the brightness on the palette of brightness or insert values on fields below. If you decide to use a gradient, like fill color you have to click on fading button and choose the two colors for create it. It is possible too change the degrees of gradient into the input field on the right bottom of window.
Set up the flat color:
Set up the color gradient:
4 – Define background color
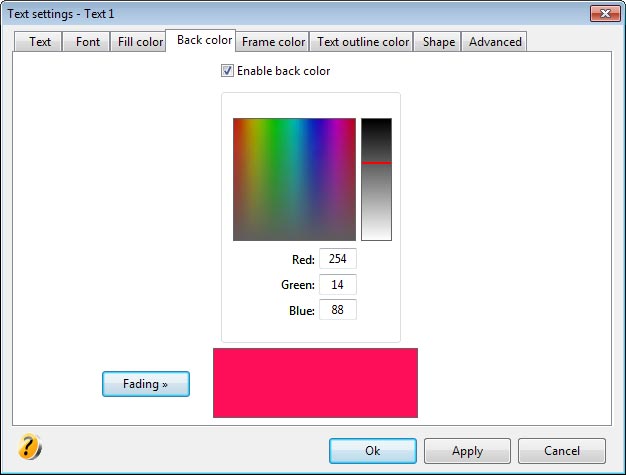
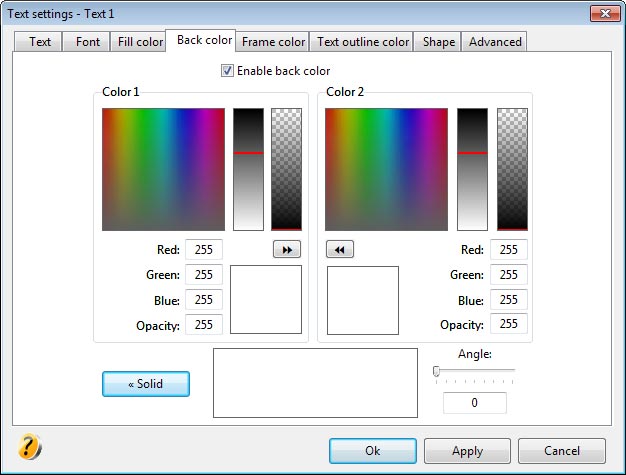
First of all, check the checkbox to be able to change color of background of text object, then click on Back color tab, so now you have two ways to set color in Labeljoy, choose from the color palette and set the brightness too, or enter values in fields under the color palette. For gradient color you have the same two methods to set up colors to generate it and to set up the degrees of gradient.
Set up background color of text object:
Set up the color gradient:
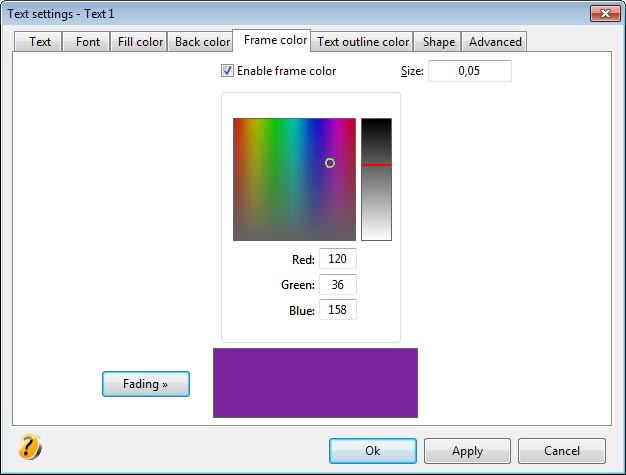
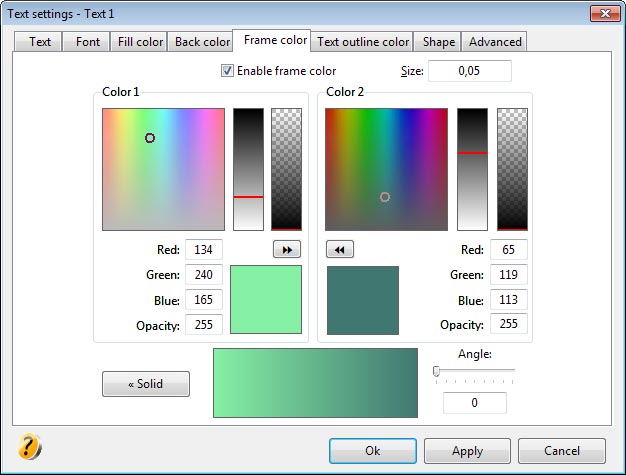
5 – Define color and size of frame
Now let’s me explain how to define color and size of frame in Labeljoy, when you have selected frame color tab, before all, you remember to activate the checkbox to enable the modifies. Then, as in the other tab options, select the color from the color palette or by entering values. The same procedure is for color gradient through the button fading.
Set up the flat color and the size of frame:
Set up the color gradient and the size of frame:
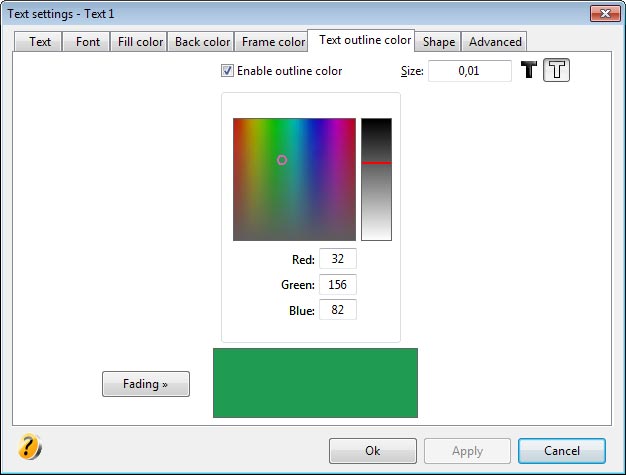
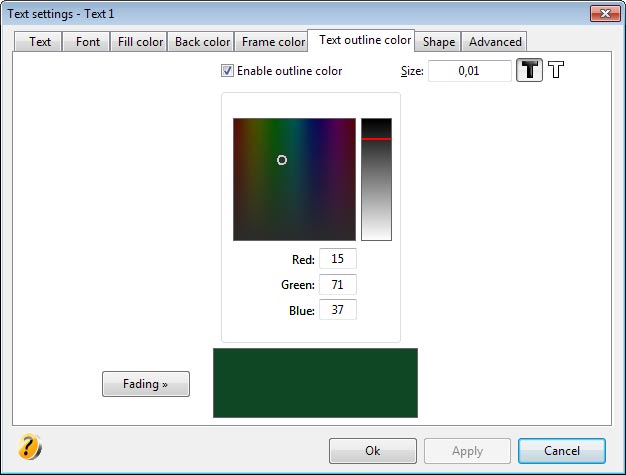
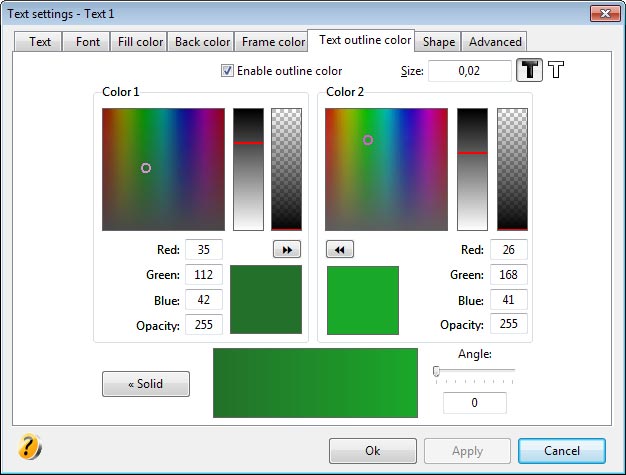
6 – Define text outline color and size
Between all the options you can choose in Labeljoy to create labels and price tag, it’s possible even change the text outline. That means that can be modify the color, the size and choose if text is empty or solid inside, of course the fill of outline can be done gradient as the others. Checkbox before to be able to make changes and once again the color optons are similar to fill, back or frame but here there is also the option to choose whether to leave the text inside empty or full even in the gradient function.
Set up outline solid color and size of text with inside fill empty:
Set up outline solid color and size of text with inside fill solid:
Set up outline color gradient and size of text with inside fill solid:
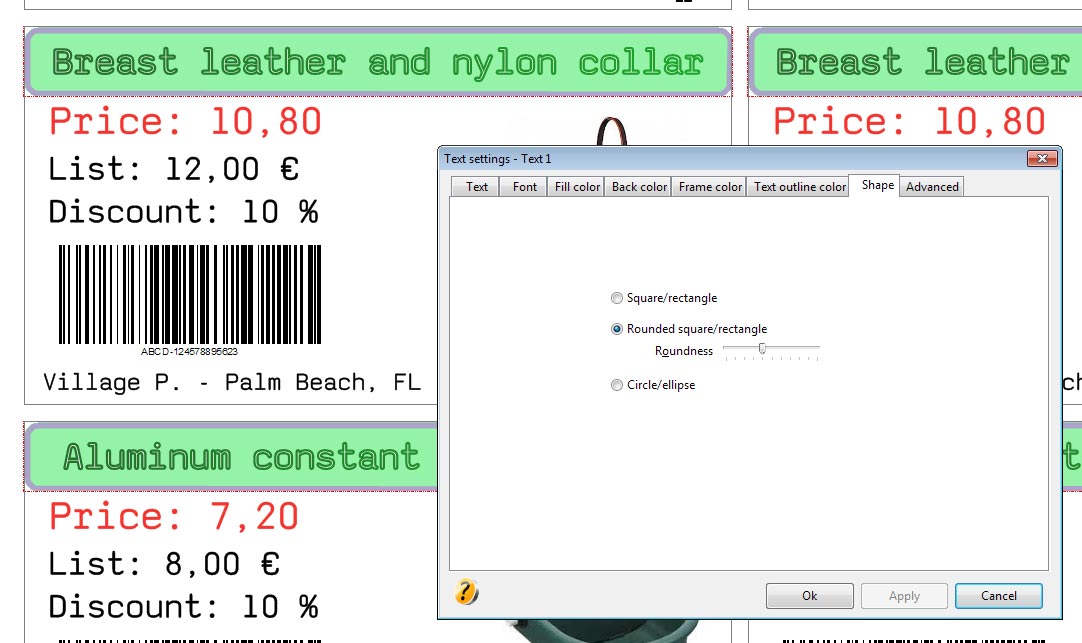
7 – Define shape of text object
In this tab Labeljoy, the options change the shape of the box. Choosing between square, rounded or with circle shape, and rounded accept also a various values.
Set up the shape of text box:
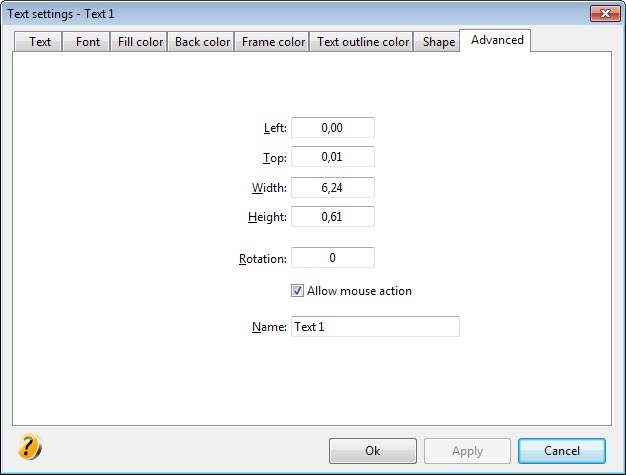
8 – Define advanced options
In the last tab of options to create labels and price tag, you can modify the dimensions and the position of the selected object in the label space. It is possible too change the rotation and the name of the object, you can rotate the object also with mouse dragging it and keep holding the shift key but only if the checkbox Allow mouse action is checked.
Set up the size, the position and the rotation of text box selected: