Working with roll printers
Roll printers are the best choice if you need to print many labels. The cost per label is usually lower, and using a dedicated printer can help you avoid problems that are often associated with a standard printer, such as having to load the correct paper every time you have to print labels.
If you work with a roll printer this tutorial will help you understand the steps required to properly setup Labeljoy to print to a roll printer.
Video: printing with roll printers
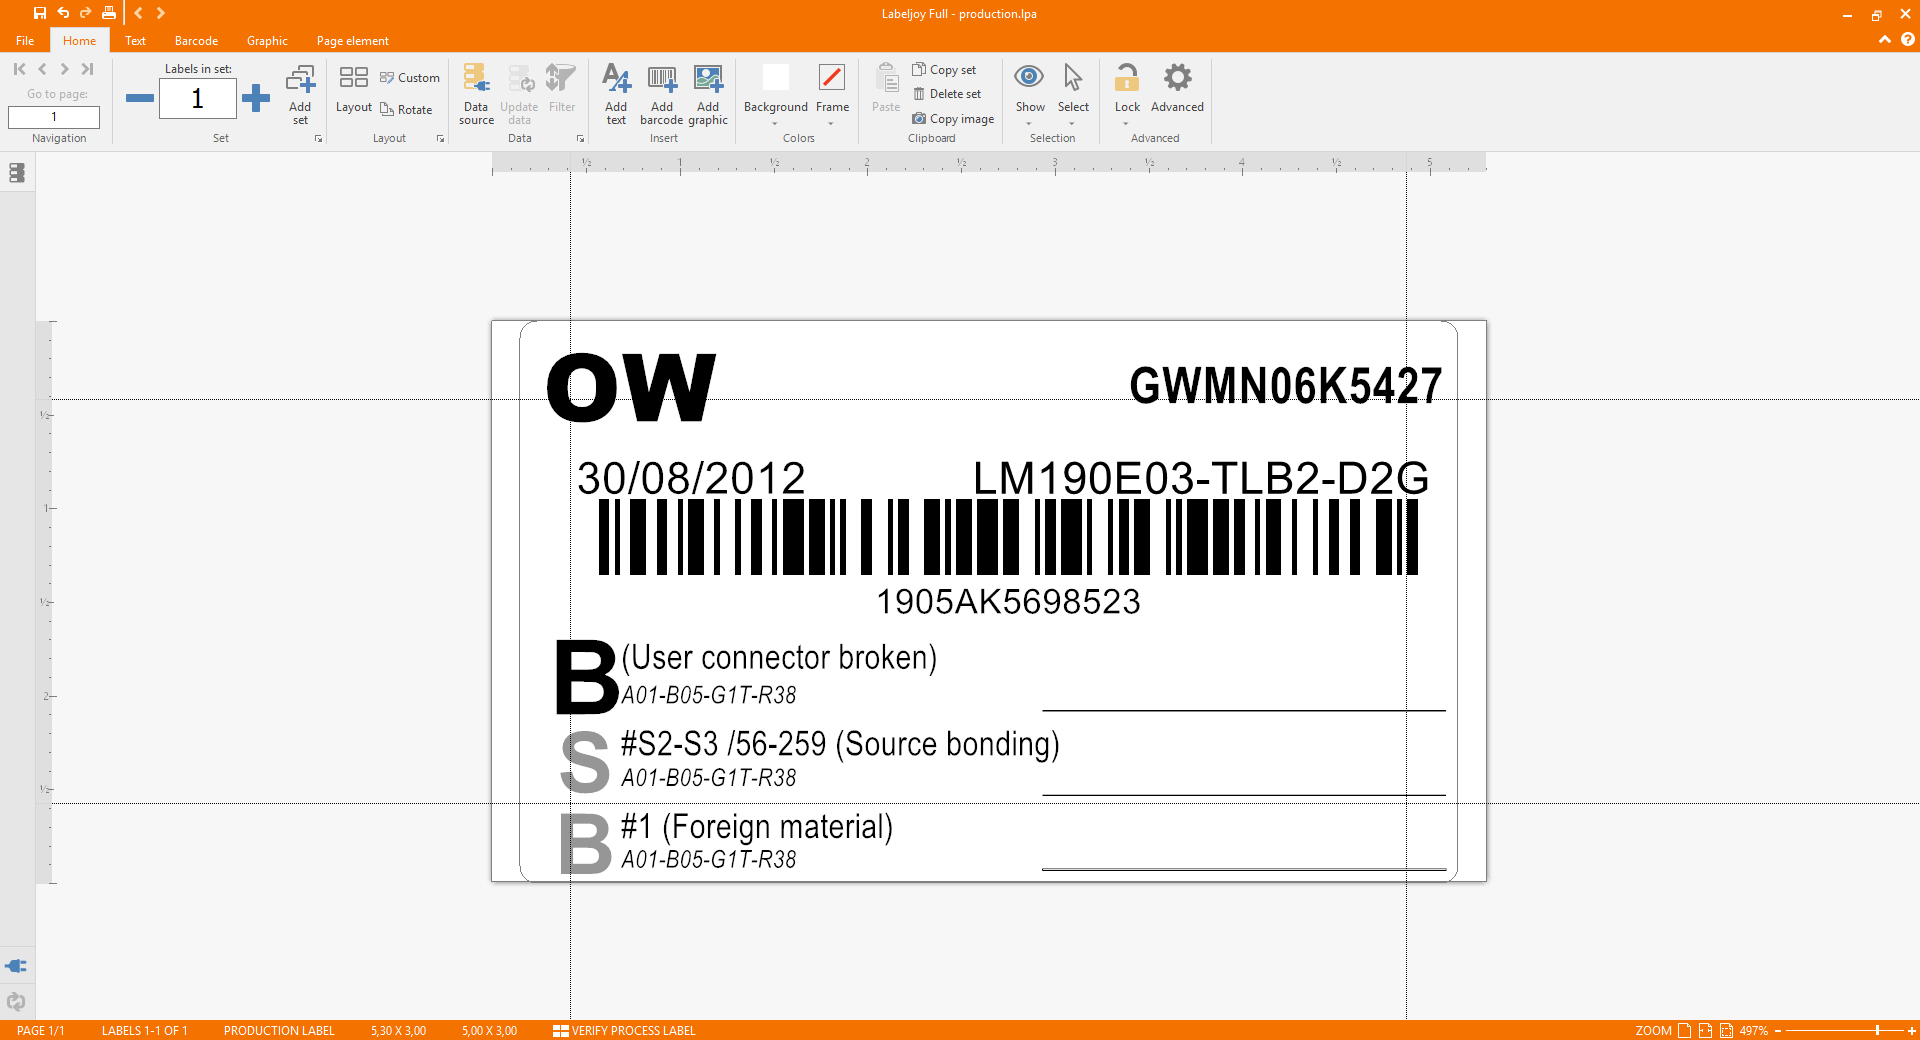
We will generate a typical label for internal use with text and a barcode and will print it with a Zebra TLP 3842 roll printer.
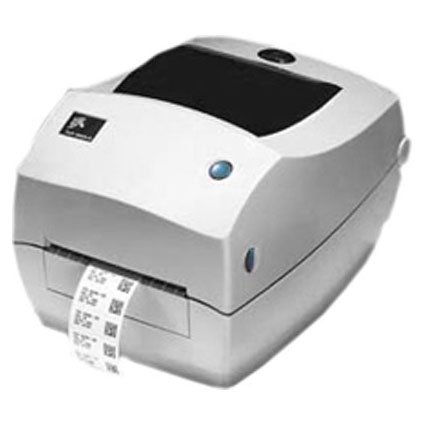
The Zebra TLP 3842 roll printer
1 – Defining the layout
Roll printers consider each label as a single page, therefor the paper layout must be set to 1 column and 1 line, according to the size of the label, including margins.
In this tutorial we will use a roll of 5 by 3 cm labels with a horizontal margin of 0.15 cm on each side.
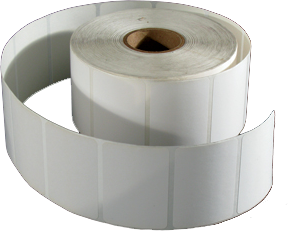
A 5 x 3 cm label roll
Note that there also is a vertical distance between each label. In this case, however, this is not taken into account because the printer driver uses this distance to detect the start / end position of each label.
This usually needs some tweaking since each printer behaves differently and a little testing might be necessary.
The layout form should look like this to take this specific scenario into account:
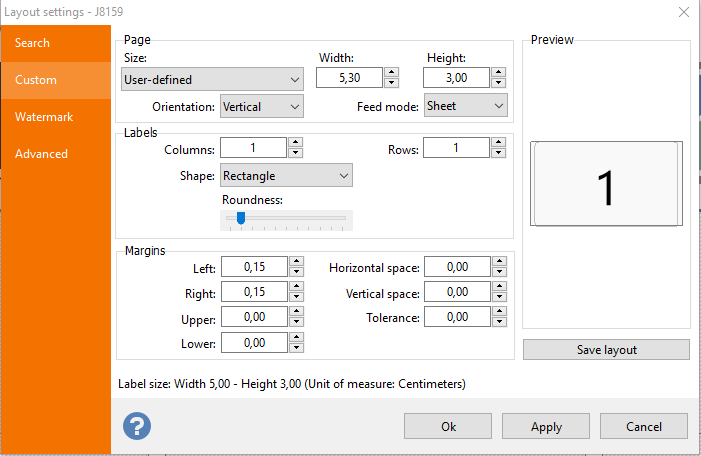
As you can see, in the Page frame the paper size has been selected as User-defined, and the total width (including margins) and the net height (excluding the gap between labels) of the label have been entered.
1 column and 1 line have been entered in the Labels frame because the printer considers each label as a single page.
Finally, in the Margins frame we entered 0.15 cm for the left and right margins and 0.00 cm for the top and bottom margins.
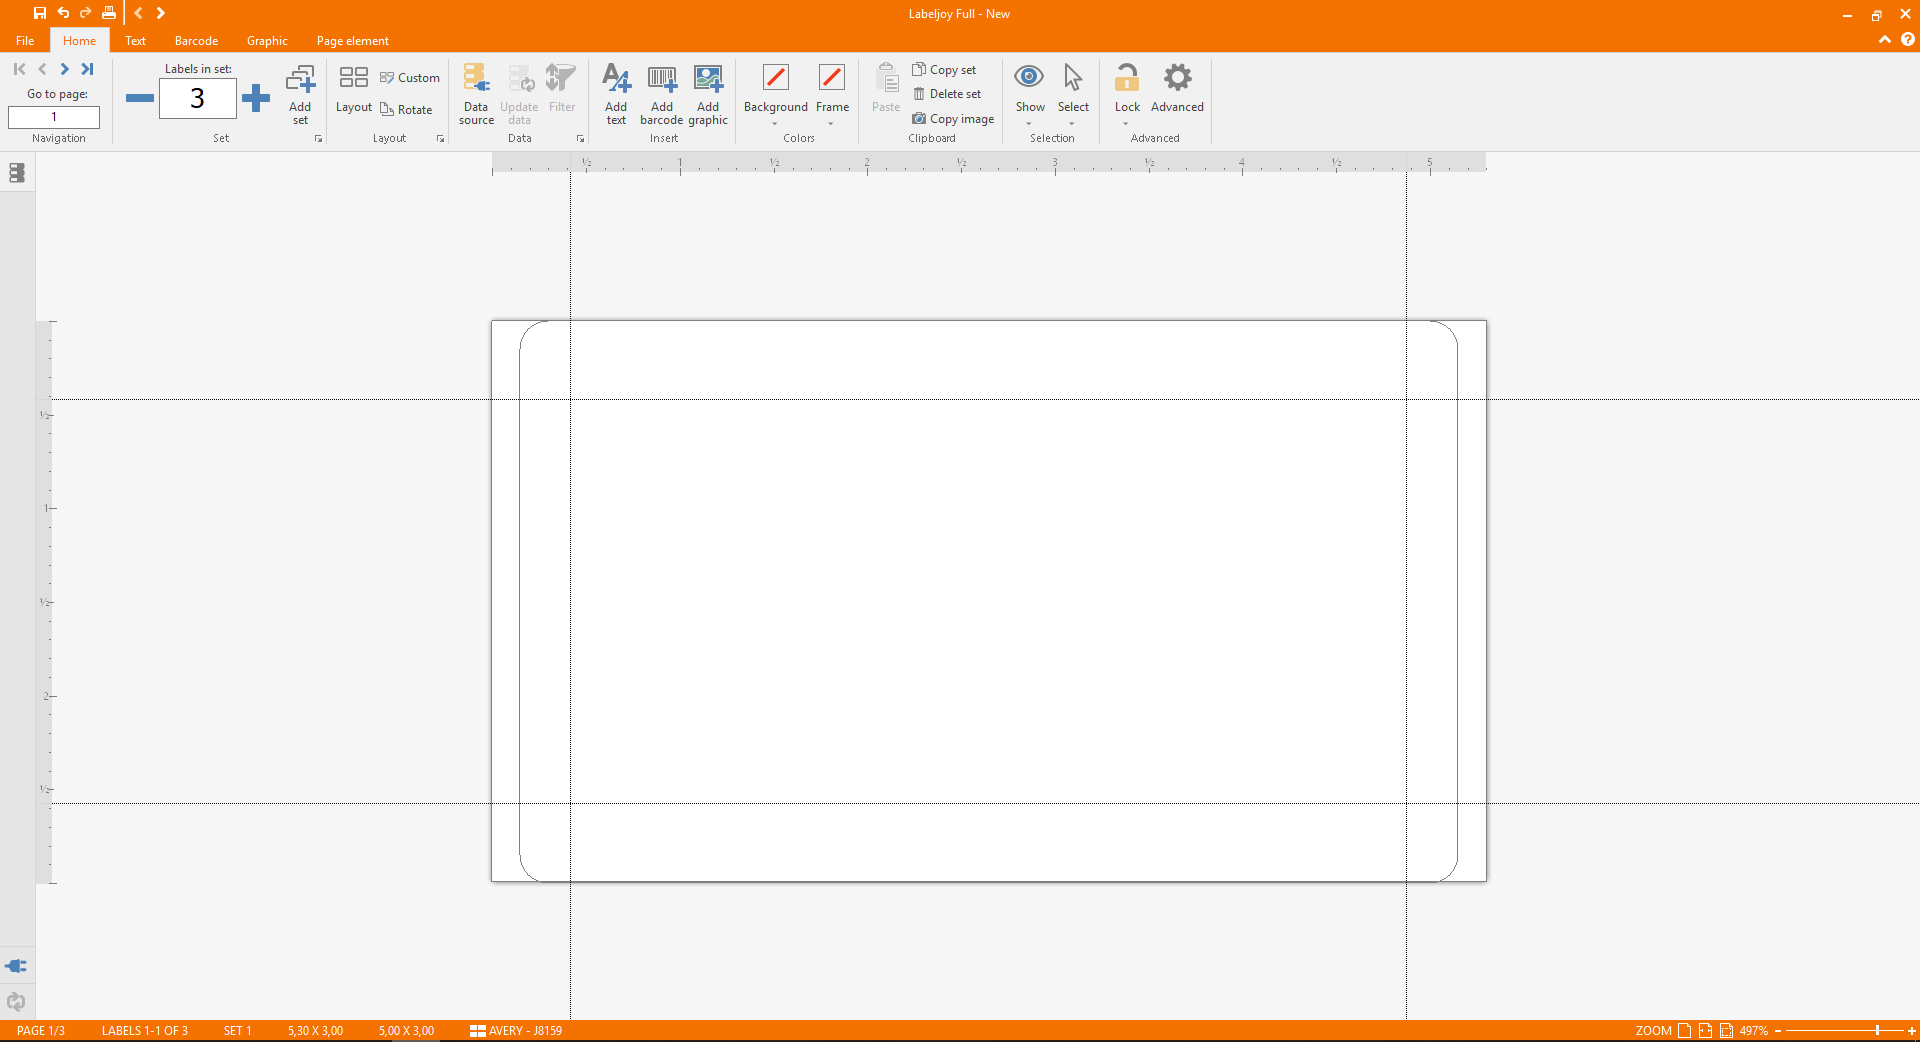
Once the changes are confirmed, Labeljoy should display a single blank label, such as the following:
2 – Designing the label
All the elements you need to print on the label must now be added. Simply select the element type from the left toolbox and draw a rectangular selection frame on the area where the new element should appear. Then double-click each element to define its properties.
Keep in mind that things displayed on screen are likely to appear larger than they will be in their printed version, depending on the zoom settings you are using.
This is the final result: a typical production label from a repair center with different information, a serial number, and a barcode.
3 – Connecting data
If you need to print a series of labels with data, you have to define a data source in Labeljoy. For more information, please refer to this tutorial video .
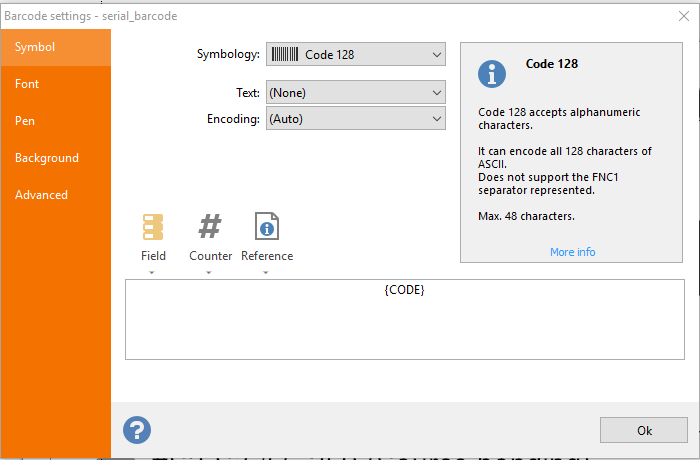
Once the data source has been connected, each element can be edited to ensure that the data from the underlying source is read correctly. Click the Field button and create the correct text link.
Keep in mind that this is a 1-label-per-page project. If your data source contains 300 rows, Labeljoy will consider it a 300-page project. To be able to scroll through the individual labels, you will have to use the page buttons in the upper toolbar.