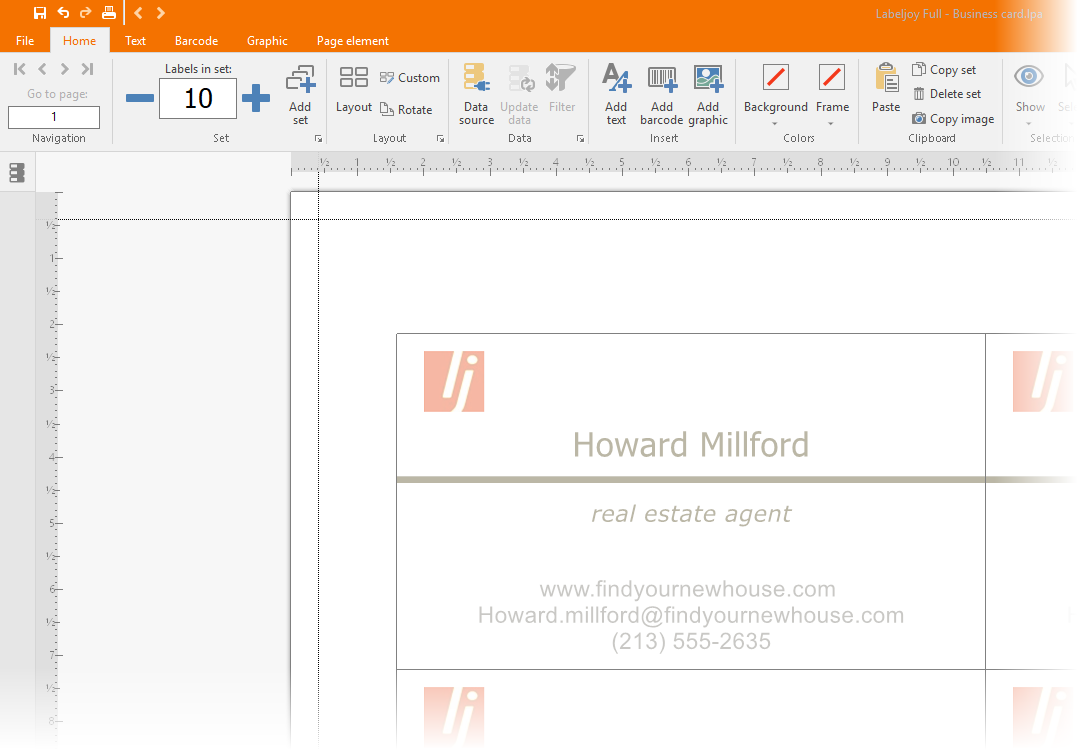
How to create business cards
Labeljoy is the software that allows you to create and print your own business card. Following the instructions in this guide will be able to quickly create their own business cards with barcodes, text and custom logos.

1 – Choose the right dimensions
First you need to define the size of your business card. The standard is 9.6 x 6.1 cm (about 3 ¾ x 2 ⅜ in.).
If you want to use a pre–cut sheet is recommended to choose the layout from the list of layout preloaded Labeljoy. If not manually set the size of the business card that will later be cut by hand after printing.
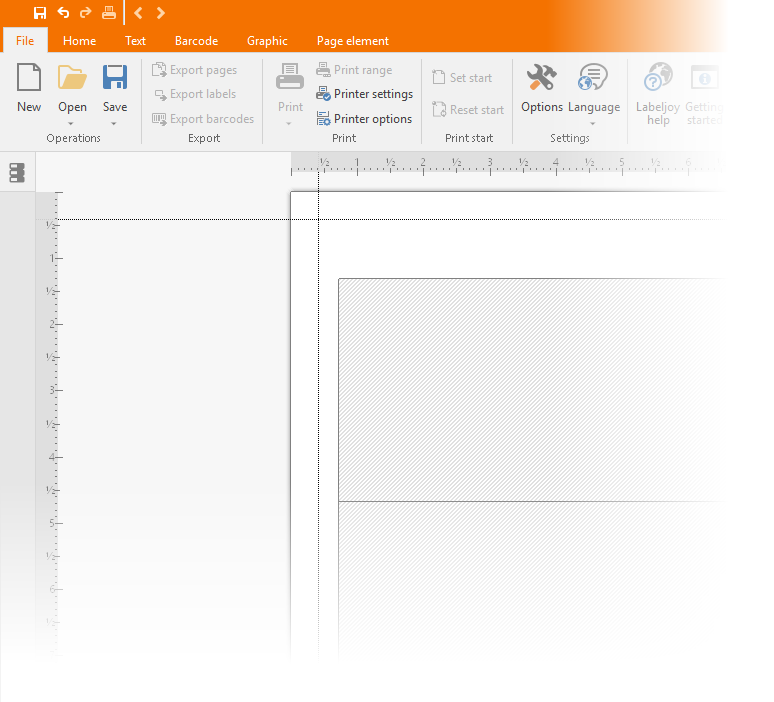
In both cases, the first window of settings is that of Layout:
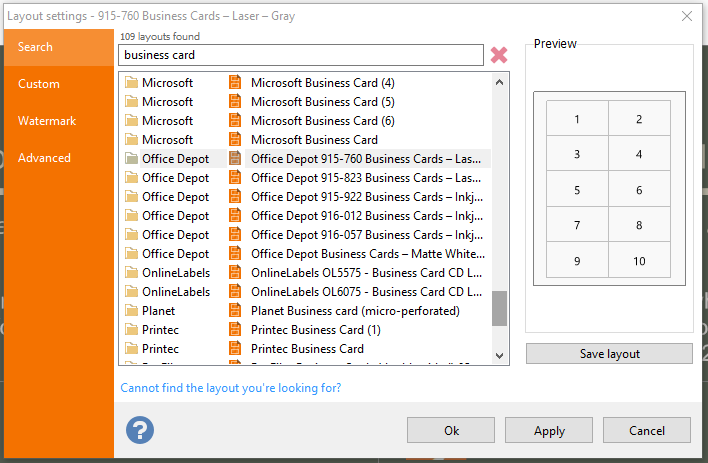
If you are working with a specific pre–cut paper, enter the name (or part of it) in the box and click Search …. Will appear a list of layouts that correspond to the words. Select the layout and click OK.
To manually set the size of the card click on the Custom tab:
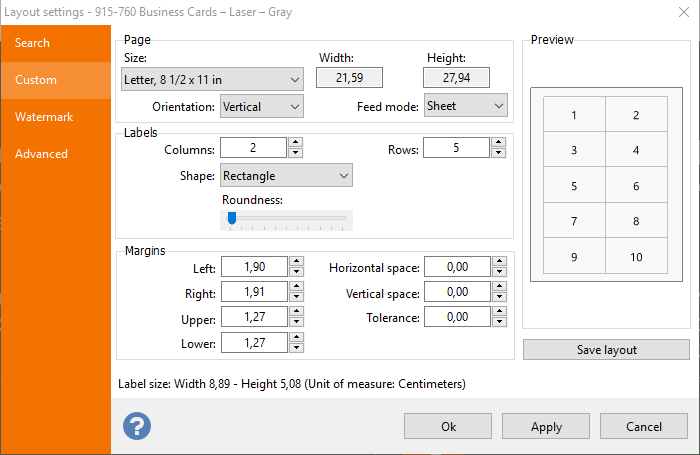
In this window you can define the size of the paper, margins, horizontal and vertical spaces, the number of rows and columns. On the left side of the window, you can preview the result of the layout set.
Pay special attention to the voice Edge Tolerance. This value defines the amount of tolerance to each label. If the ticket has a background color is recommended to increase the tolerance to correct any printing errors caused by slight movements of the paper during the printing process.
Finally, if you are printing on cut-sheet paper may be useful to see the crop marks. Open the Options window and click the Print tab:
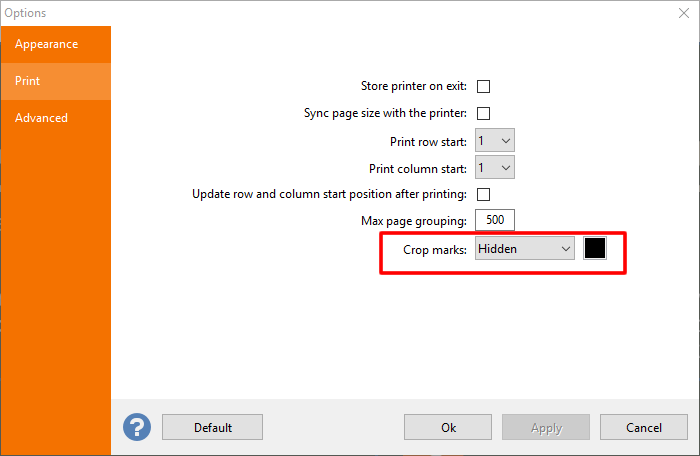
Define the type of guidelines and color. Click OK to apply the settings.
Now you are ready to print your business cards.
2 – Add text elements
Now that the page layout has been defined, you can start adding elements to create your own business card.
Here are some guides that can help define a style correctly:
- Maintain the edge distance of about 0.5 cm (¼ in.)
- Avoid using text smaller than 6pt.
- Name and / or name of the company should be large at least 12pt.
- Increase the size of the text with a dark background.
- Create simple things.
First remove items that have a very characteristic Labeljoy default:
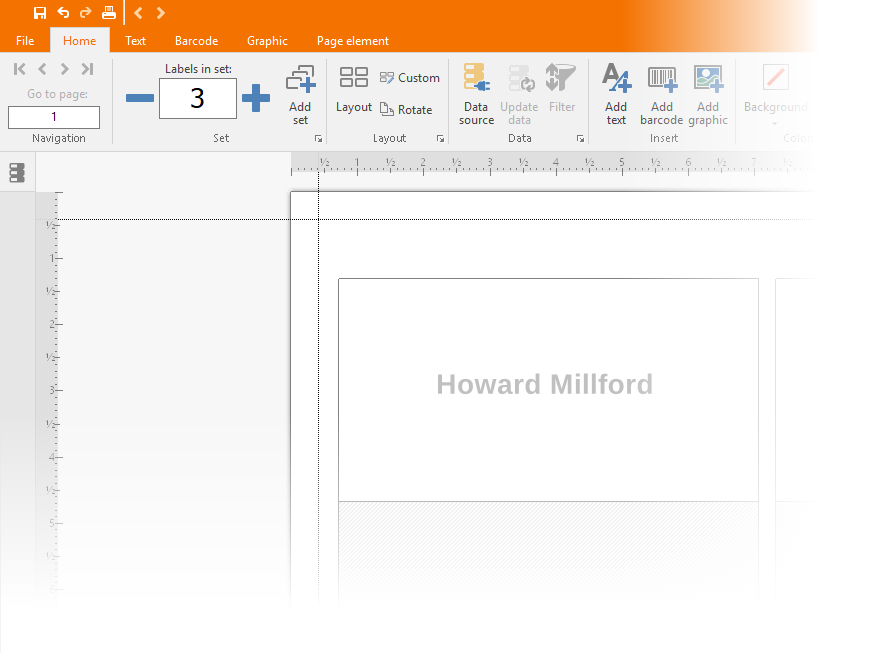
Enter the name on your business card: click on the Text icon on the left bar and drag to create a rectangle on the label:
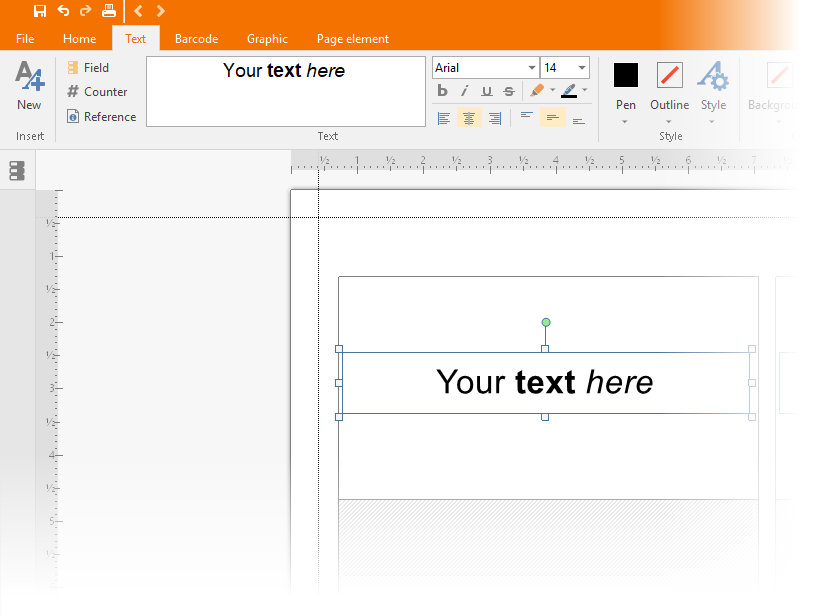
You can change the text element by double clicking on it.
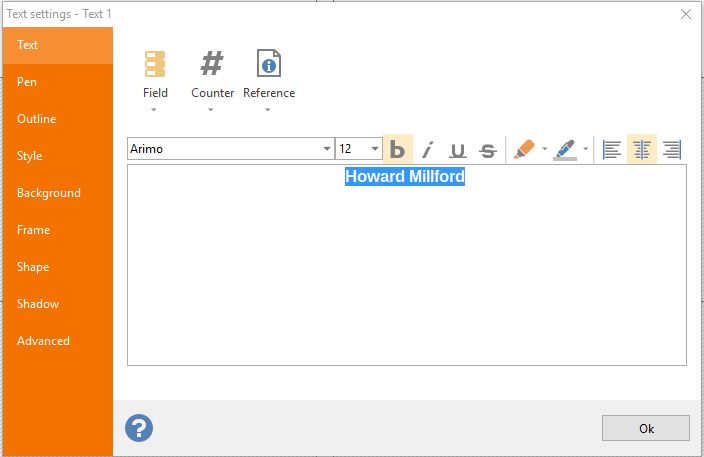
Select the tab Text and insert your text.
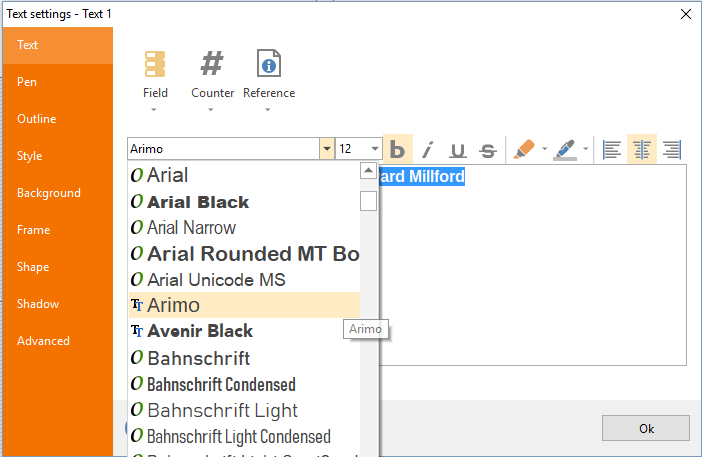
Select the tab Font and choose the font, the dimensions, the align of text etc.
Select the tab Fill for set the color of text:
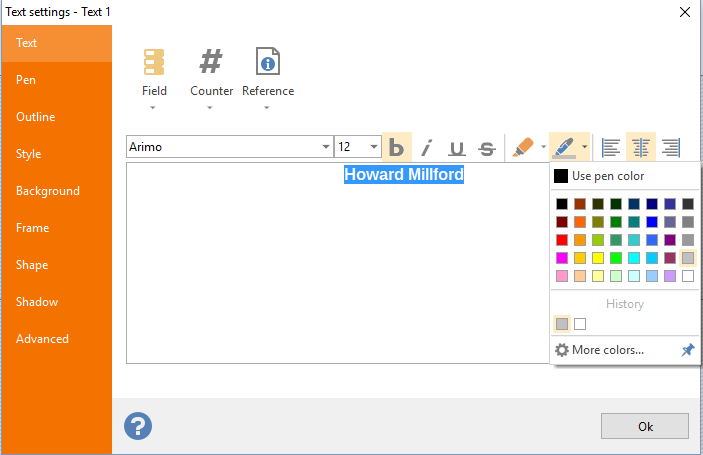
After all click Ok for save setting:
Now for creating a copy of the text, selecting the text object and making copy/paste:
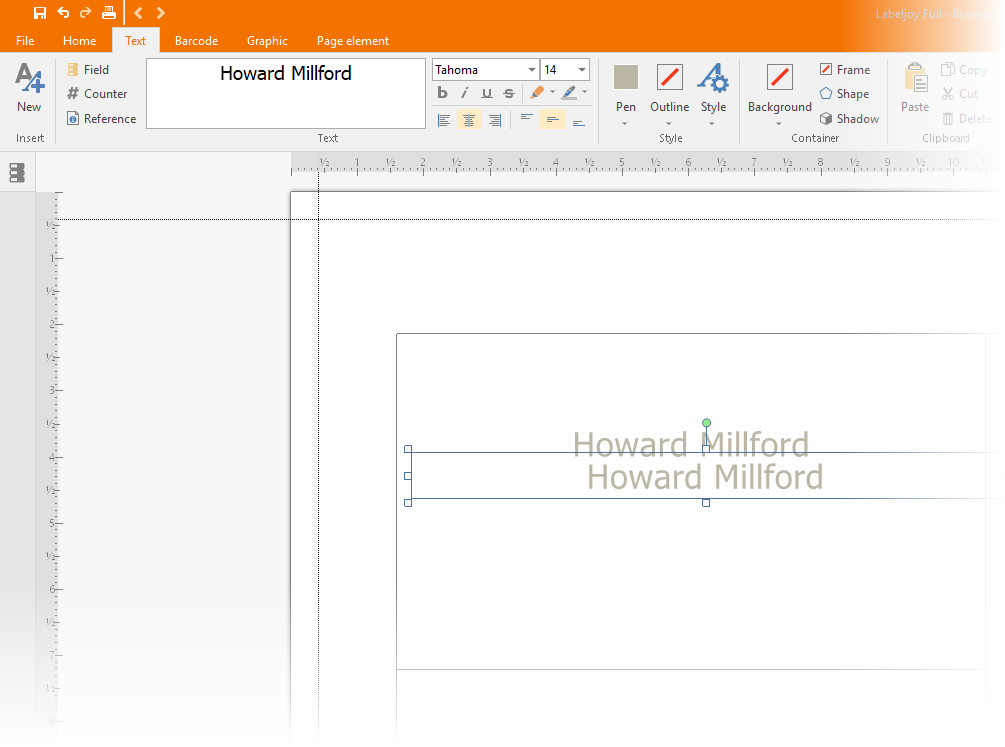
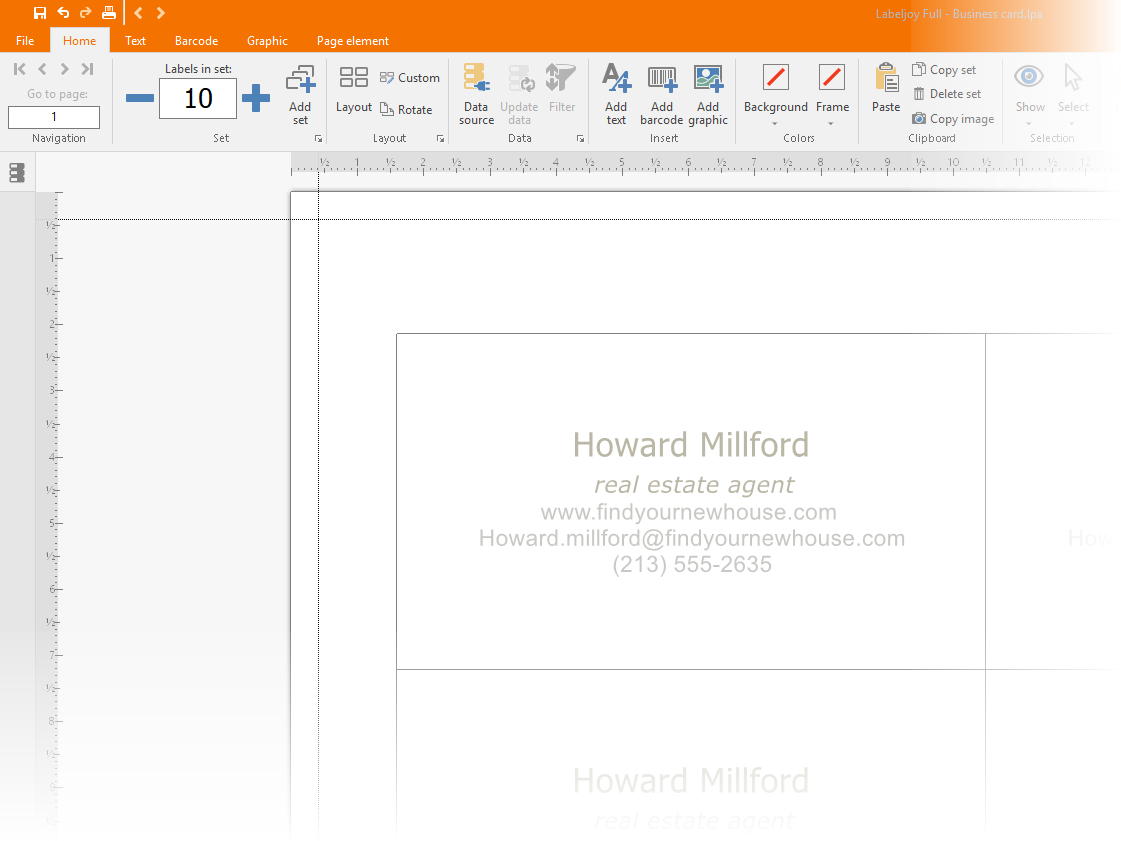
Using a copy of the text above you can add the information of keeping the same formatting. Double-click the text and change with an address.
Cilck on tab Font reduce the dimensions, and remove the Bold.
3 – Add a logo
Click on the image icon on the side menu, drag a rectangle by holding down the left mouse button. A window will appear with a default image:
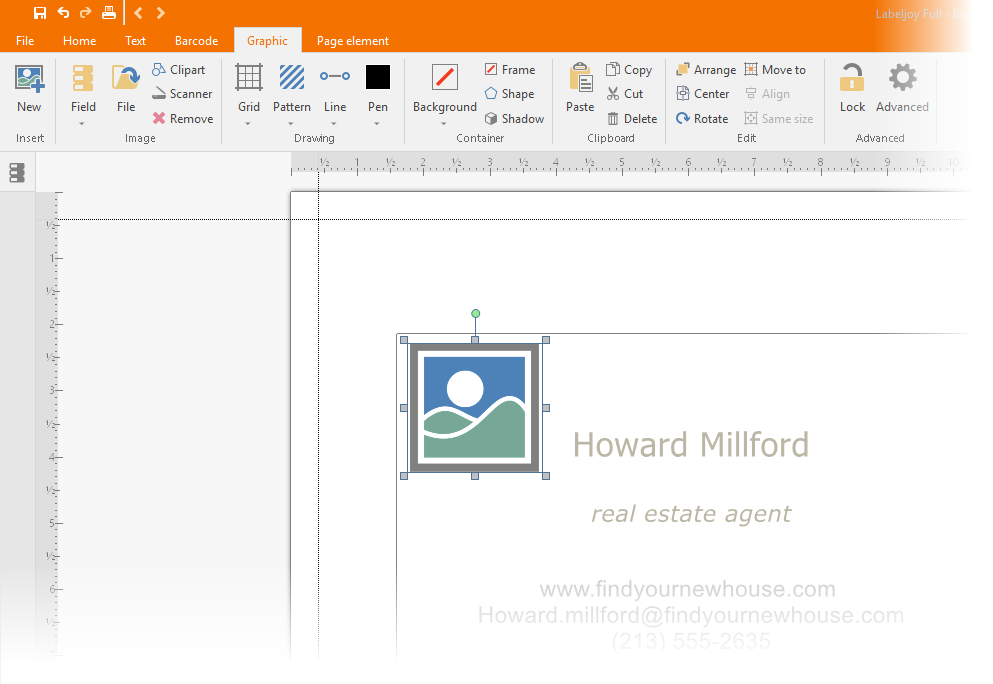
In this case, click on File and look for the image from your PC:
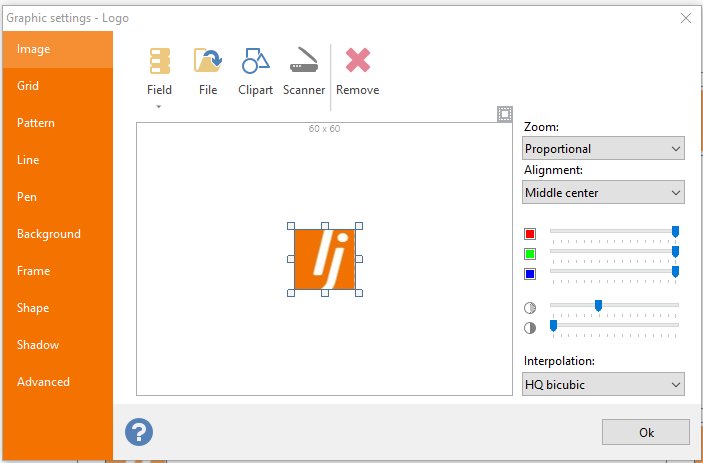
Select image, click OK and place and size the image according to your needs:
4 – Graphical improvements
Have been included basic informations, now you will see graphically how to make the best business card.
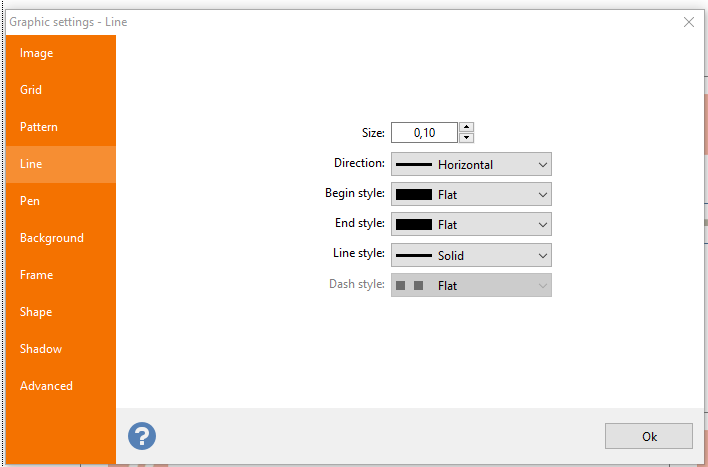
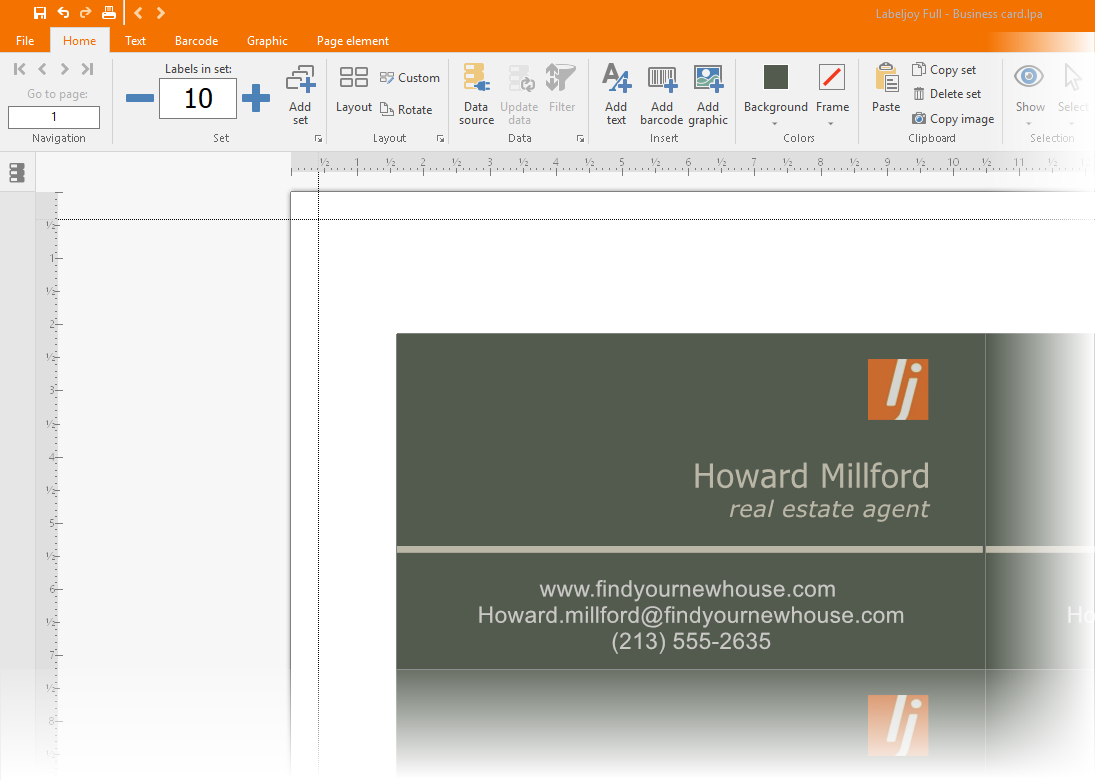
Aggiungiamo una linea separatrice tra il nome e l’indirizzo: aggiungere un elemento grafico, rimuovere l’immagine di default ed andare nella scheda Linea. Impostare lo spessore desiderato ed il colore dalla scheda Colore fronte:
in questo caso si ha selezionato un colore uguale alla lettere “J” del logo. Cliccare Ok per posizionare la linea:
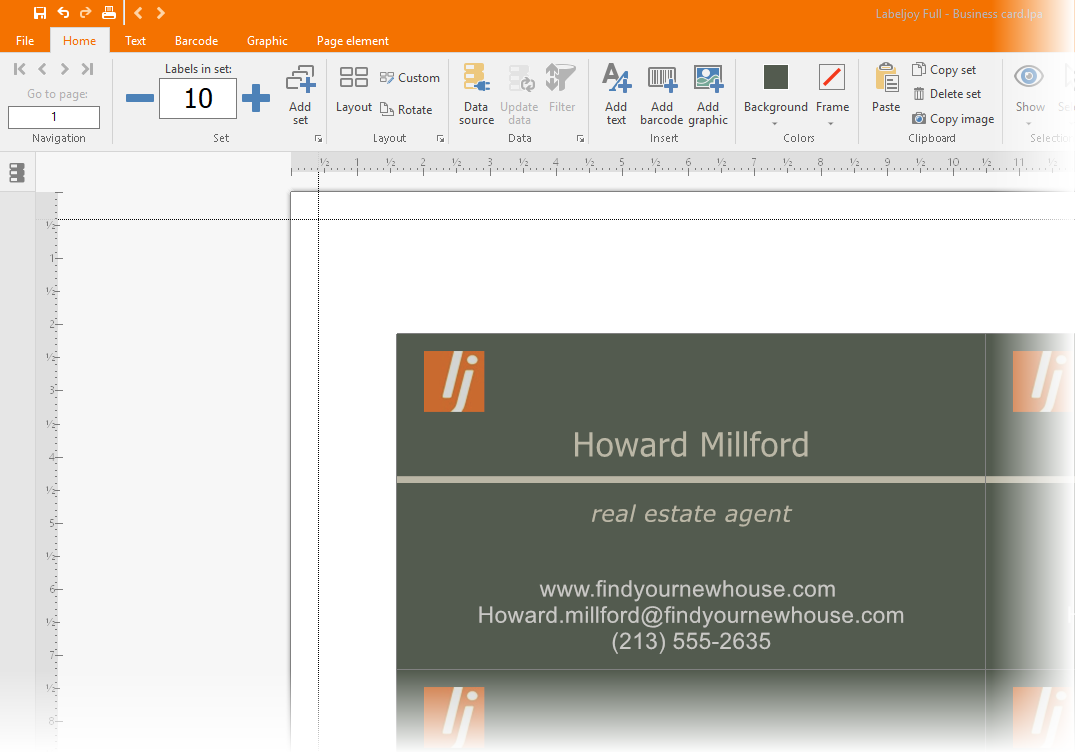
Infine definire il colore del fondo del biglietto da visita.
Doppio clic sul lato sinistro in alto del biglietto da visita (o in un’area vuota del biglietto) per accedere all proprietà del Gruppo di etichette. Andare nella scheda Sfondo ed Attivare il colore sfondo. Cliccare su Sfumato per visualizzare i controlli che definiscono la sfumatura:
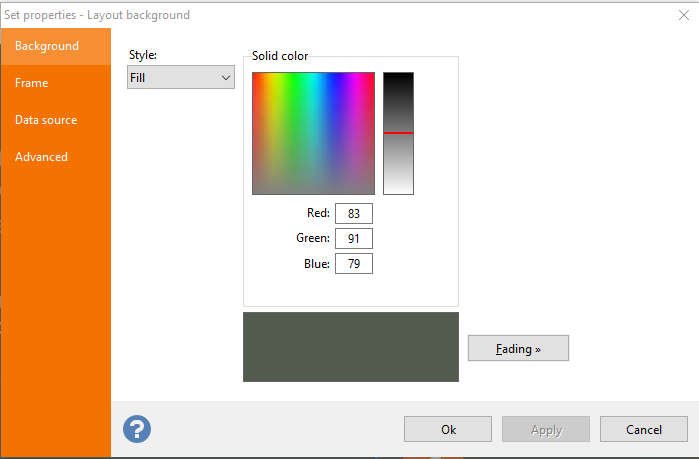
Definire uno sfondo molto chiaro con un angolo di 45°. Questo effetto aggiunge una leggera sfumatura dall’angolo superiore sinistro del biglietto da visita:
Scarica questo file di Labeljoy
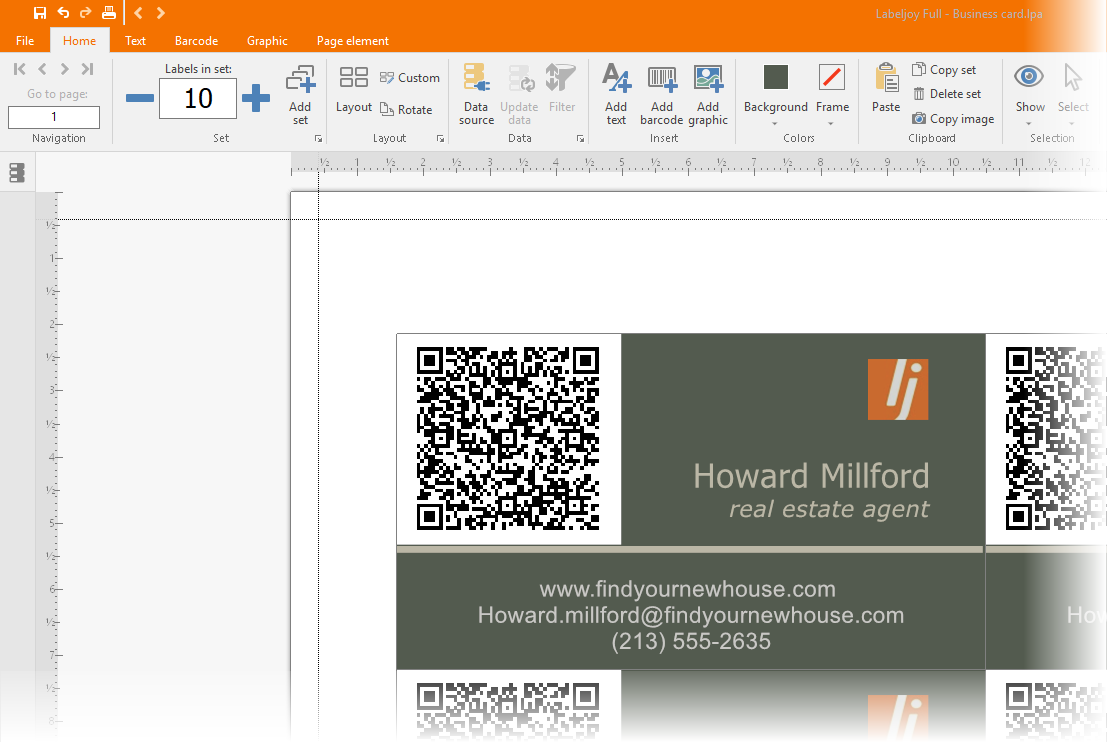
5 – QR Code
Un codice a barre 2D al proprio biglietto da visita consente di digitalizzare le informazioni del contatto e si dà la possibilità di leggere queste informazioni con un lettore di QR code, ormai presente in tutti gli smartphone.
Per prima cosa creare lo spazio per poter inserire il QR Code:
Quindi usando il bottone Codice a barre, aggiungere l’elemento barcode in alto a sinistra del biglietto:

Doppio clic sul codice a barre per definire le impostazioni:
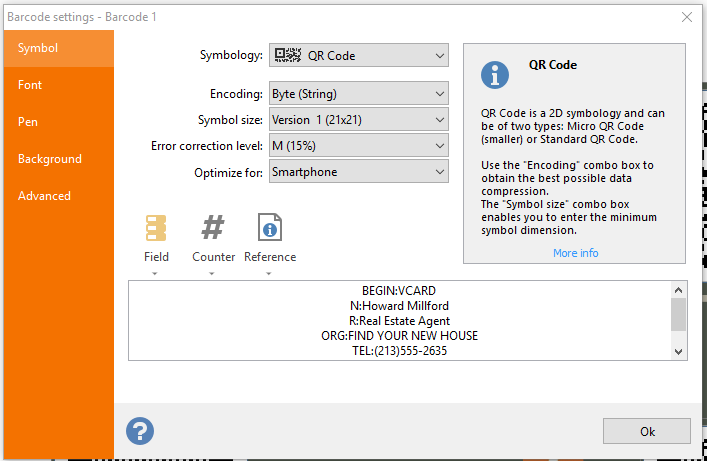
come mostrato nell’immagine, per prima cosa occorre selezionare QR Code tra la lista dei simboli presenti. Successivamente aggiungere nel campo testo i dati da codificare, come ad esempio, le informazioni di contatti in accordo con lo standard VCARD.
Dato che il numero di lettere non è eccessivo, è possibile codificare con Byte (string).
infine disabilitare il colore dello sfondo in modo che si QR Code si possa integrare meglio con lo sfondo del biglietto da visita. Andare nella scheda Colore fondo e deselezionare de Abilitare colore sfondo.
Cliccare su Ok per applicare i cambiamenti.
Muovere e dimensionare il simbolo perchè si integri nel layout del biglietto. Tenere a mente che un QR Code troppo piccolo risulterebbe illeggibile dai lettori.