element coordinates
The positioning and resizing of elements on the page normally takes place through the use of the mouse.
When hovering over a selected element, the mouse displays a Hand cursor indicating that by clicking the left button you can drag the element. Once you have reached the desired position, release the mouse button to end the dragging operation.
Note:
You can move an element
horizontally only
by holding the ALT+SHIFT
keys, and vertically only
by holding ALT+CTRL
keys.
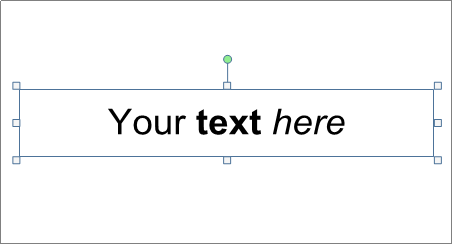
When an element is selected, it will display the typical anchors that you can use to resize and rotate. Click and hold the left mouse button while on one of the anchor point, to drag it and release when done.
Note:
It is possible to move or resize multiple elements at the same time.
Select all elements you want to move/resize by using one of these two methods:
1) Select all elements while holding the CTRL key down.
2) Click on an empty area of the label, hold the left mouse button down and drag the cursor. All elements below the selection rectangle will be automatically selected.
Once you have selected the last element, release the CTRL key (or release the left mouse button) and move or resize the selected elements.
This working mode (multi-selection) is applicable on elements belonging to the same context. For example, you can select multiple elements belonging to the same set, or you can select multiple page elements, but you can't select elements belonging to different label sets or label elements and page elements.
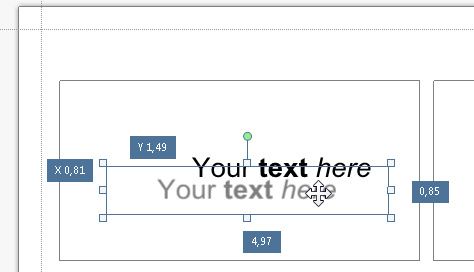
When moving or resizing an element, its coordinates and size are displayed:
In the case a barcode or an element holding an image (graphic or page element) the inner coordinats of the object are also shown:
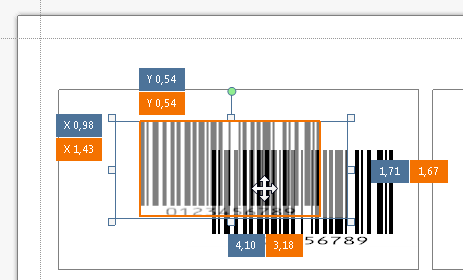
Coordinates are shown using the unit of measure set in Options.
Coordinates for label elements are relative to the label, while for page elements are relative to the page.
When you need to make accurate modifications to the element coordinates or size, you can use the Advanced tab in the element properties dialog box, common to all elements.
The Advanced tab displays 5 text boxes that enable you to define coordinates, size and rotation:
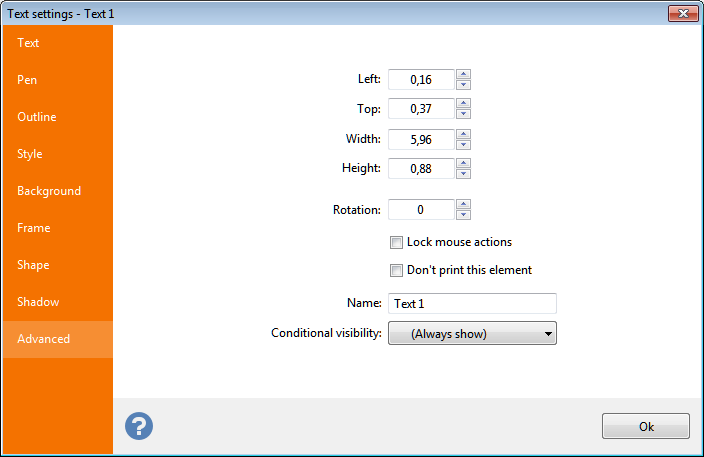
- Left: position of the left border. For page elements, this value refers to the page left border. For all label elements, this value refers to the label left edge.
- Top: position of the top border. For page elements, this value refers to the page top border. For all label elements, this value refers to the label top edge.
- Width: horizontal size of the element.
- Height: vertical size of the element.
- Rotation: value in degrees of the element rotation.
Note:
When defining a rotation angle in this window, the element will rotate by maintaining its top an left point fixed, while when rotating using the mouse anchor, it rotates around its center point.
Four additional controls are also present:
- Lock mouse action: when active, the element cannot be resized or moved using the mouse.
- Don't print this element: when active, the element will not be printed and only shown on screen. Useful if you need to add instructions or any other information that must not be printed.
- Name: the element name. The text entered here (max 32 characters) will be displayed during mouse move (if the Show names on mouse move option is active) and in the view menu.
- Conditional visibility: when connected to a data source this option lets you choose a field to control content visibility. For numeric, date and boolean fields, when the value is zero contents will not be shown, for all other values contents will be shown. For text fields, contents will be shown when at least one characters is present. For all other fields, contents will be shown in the presence of a non-null value.
